
This is a store-bought juniper (juniperus chinensis, var. procumbens "nana") that I have had for several months in full sun.
It's still rather small, and many people would simply forget about it for a few years and let it grow. However, I decided it would
make a good demonstration, and I dislike plastic pots, so I saw this as a chance to get it going as bonsai material.
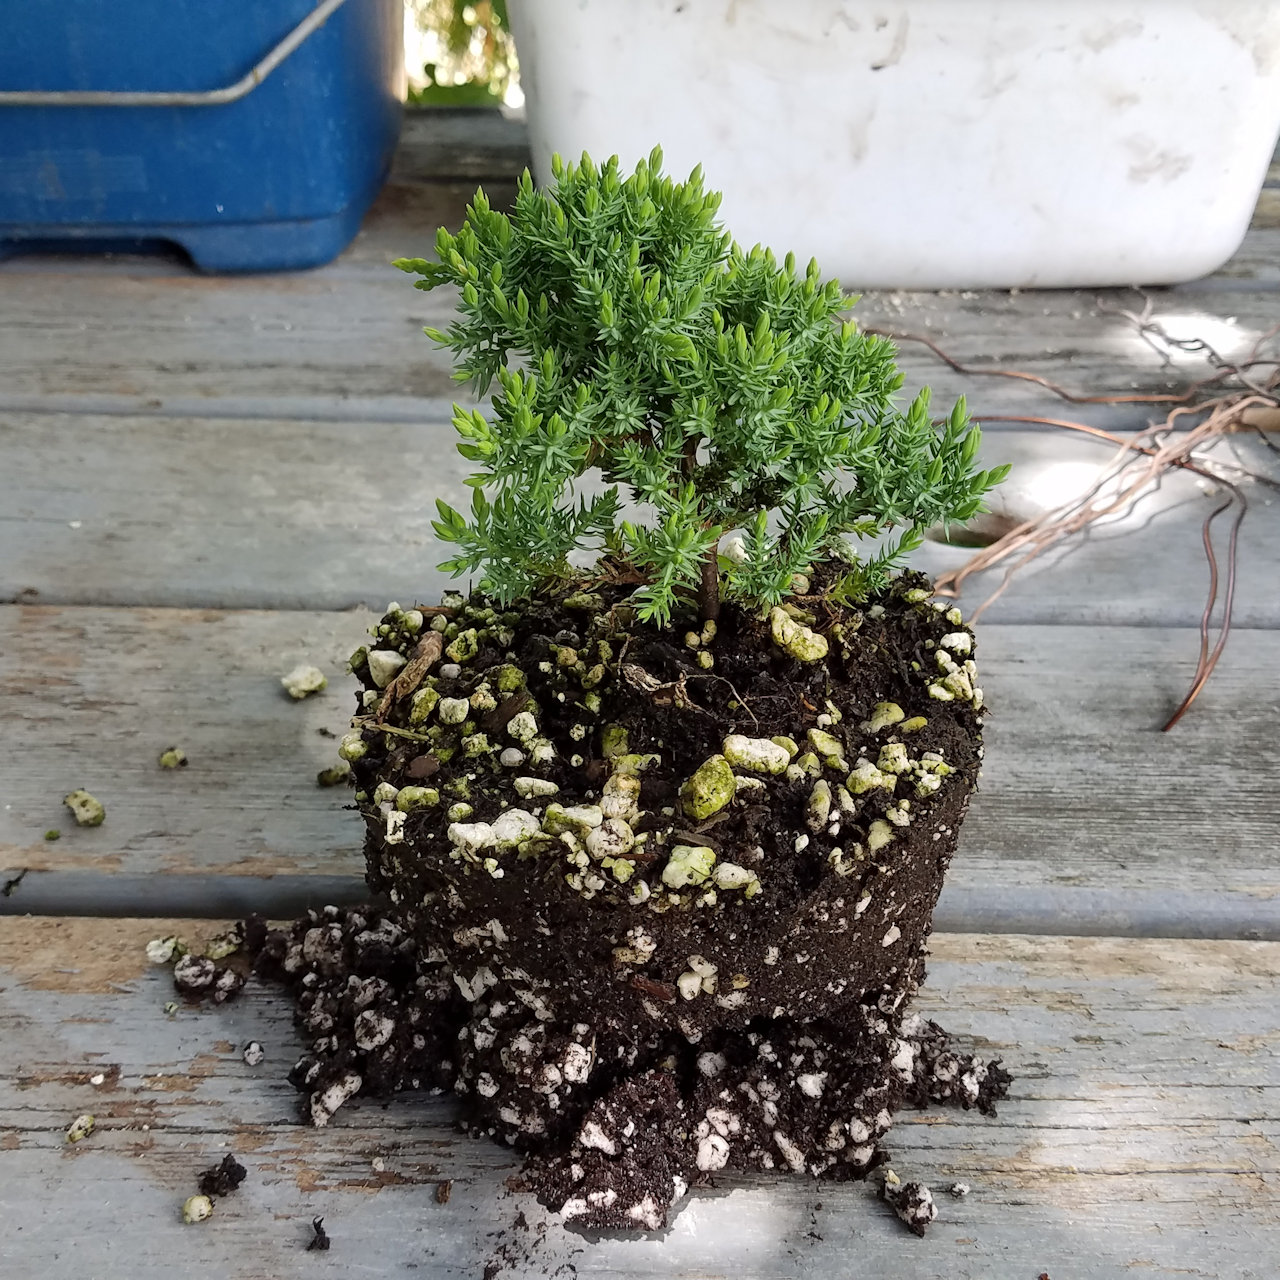
The plastic pot is discarded and I take a good look at the tree.

Next I use my bonsai shears and remove bar branches (two branches coming from the same height on the trunk, one of which is removed).
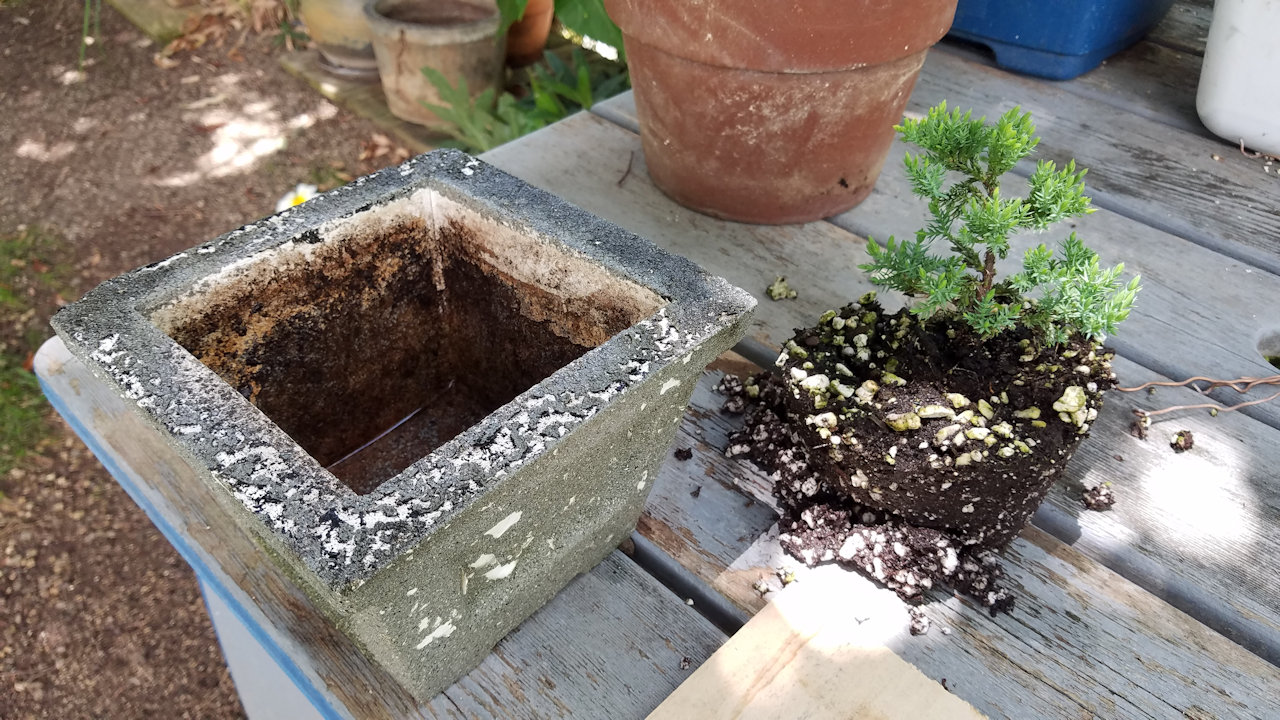
I selected this square painted concrete pot for the tree to go into.
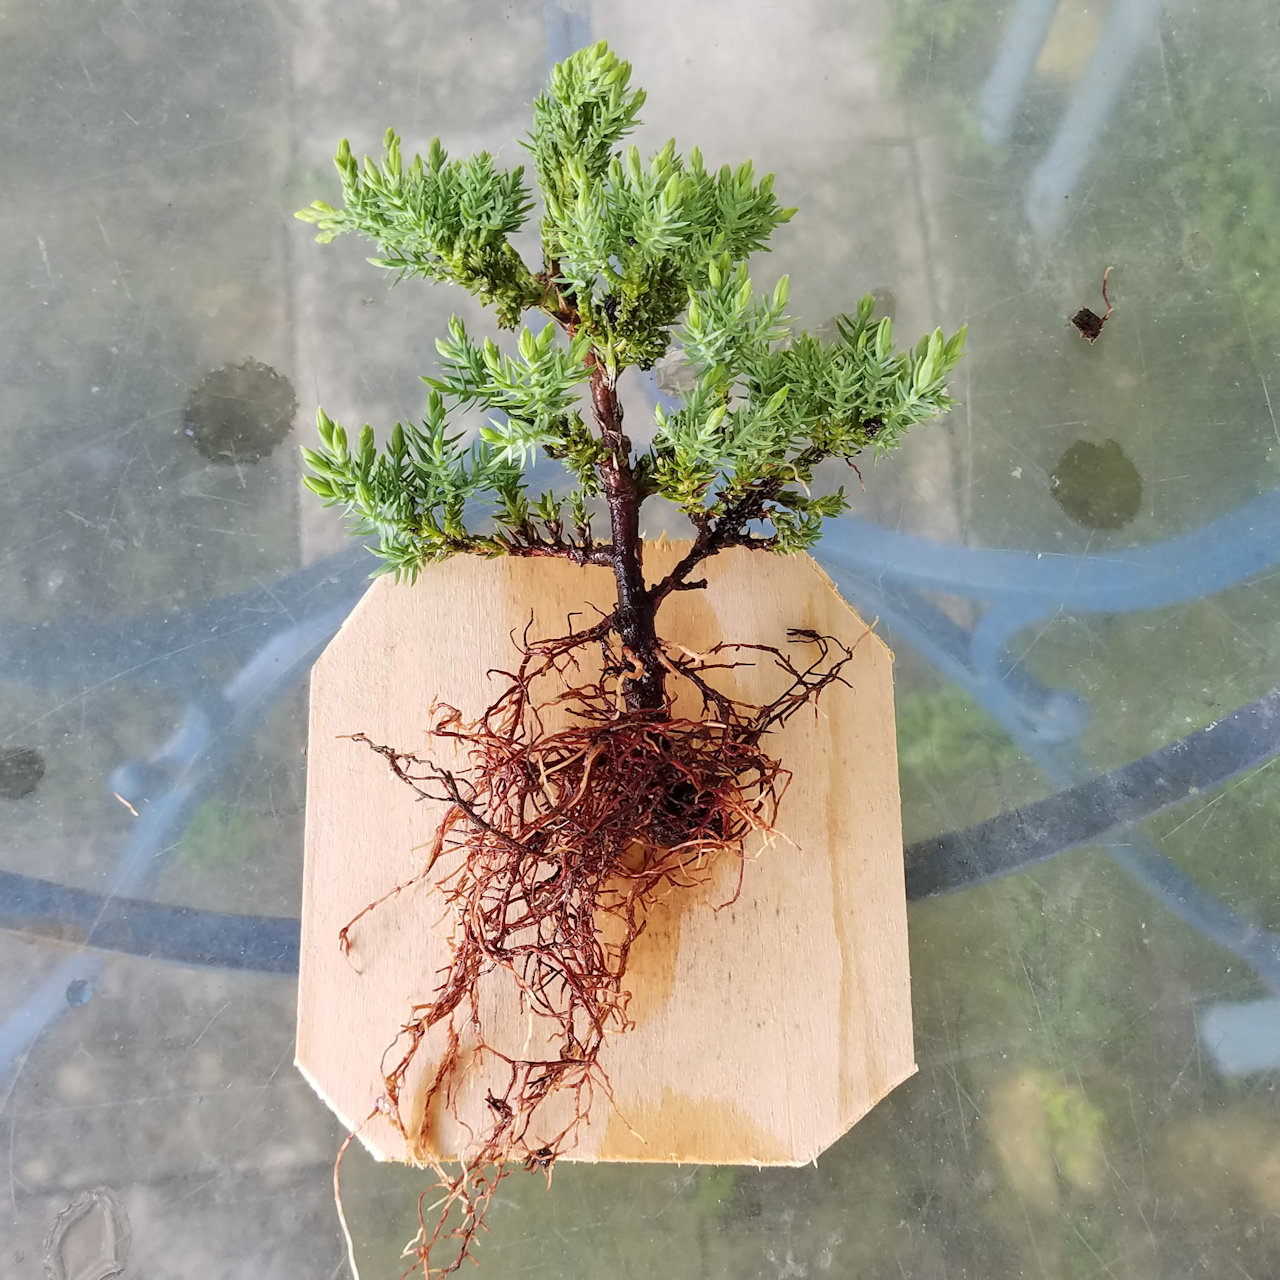
I removed the soil from the roots. No roots are pruned at this time. The tree will be planted on the thin board with the roots arranged radially.
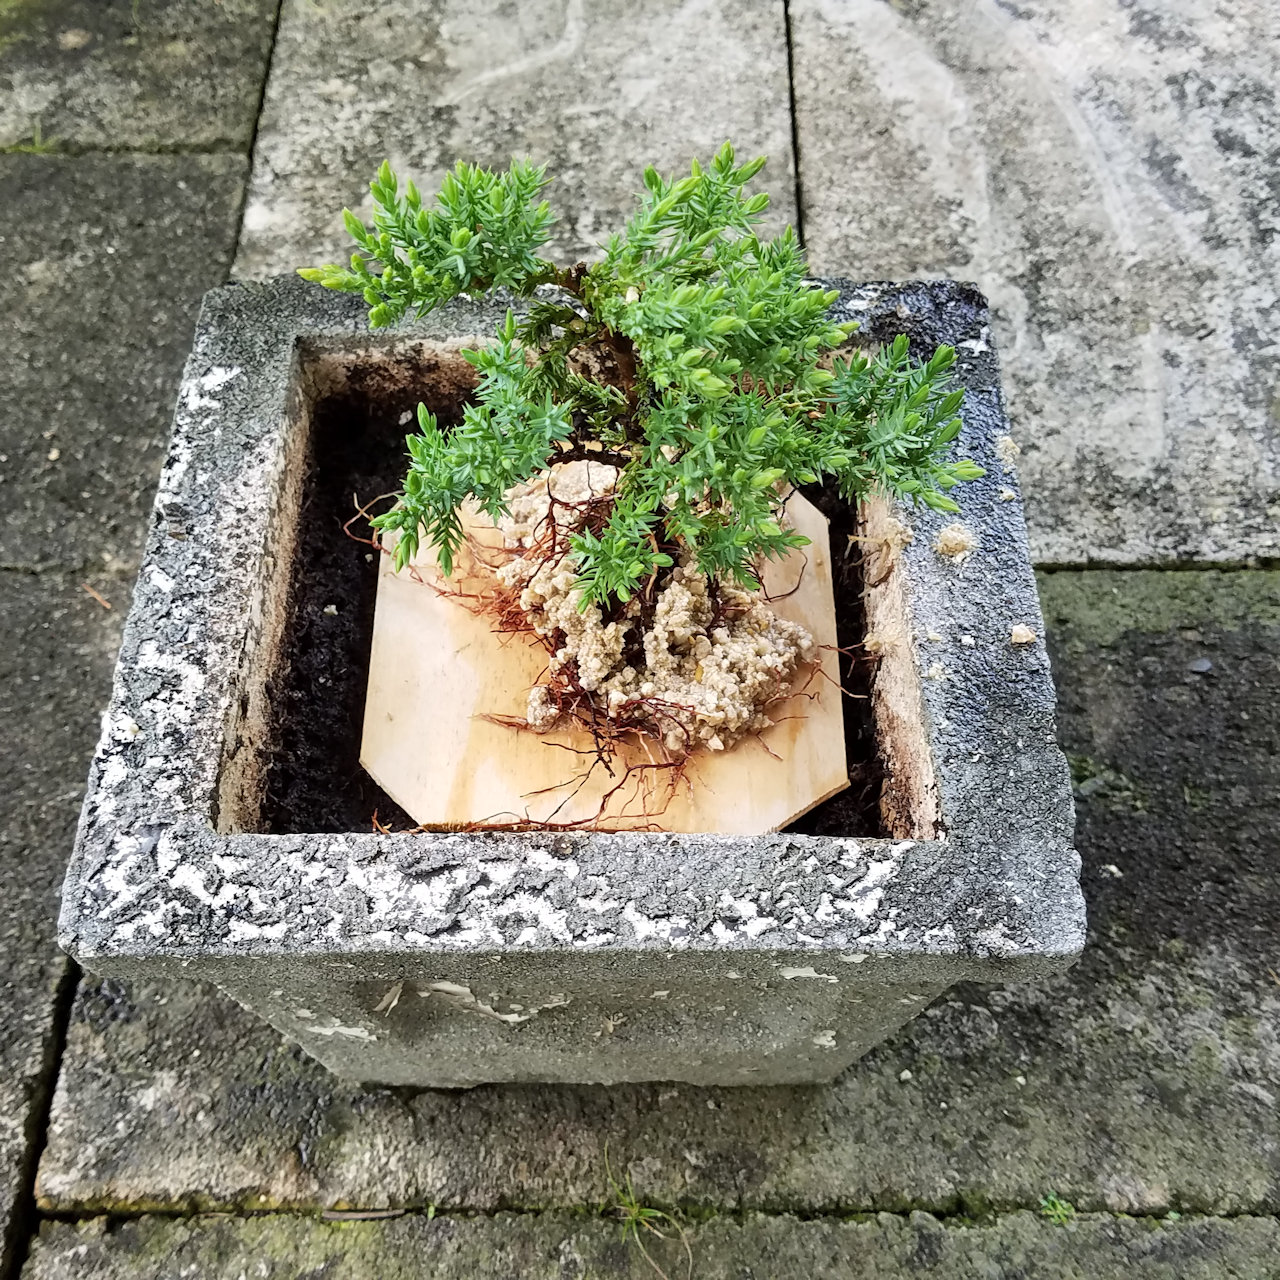
Soil is put in the pot, the board is placed on top of the soil, then the tree is put on the board. Wet sand holds the roots down for the photo.
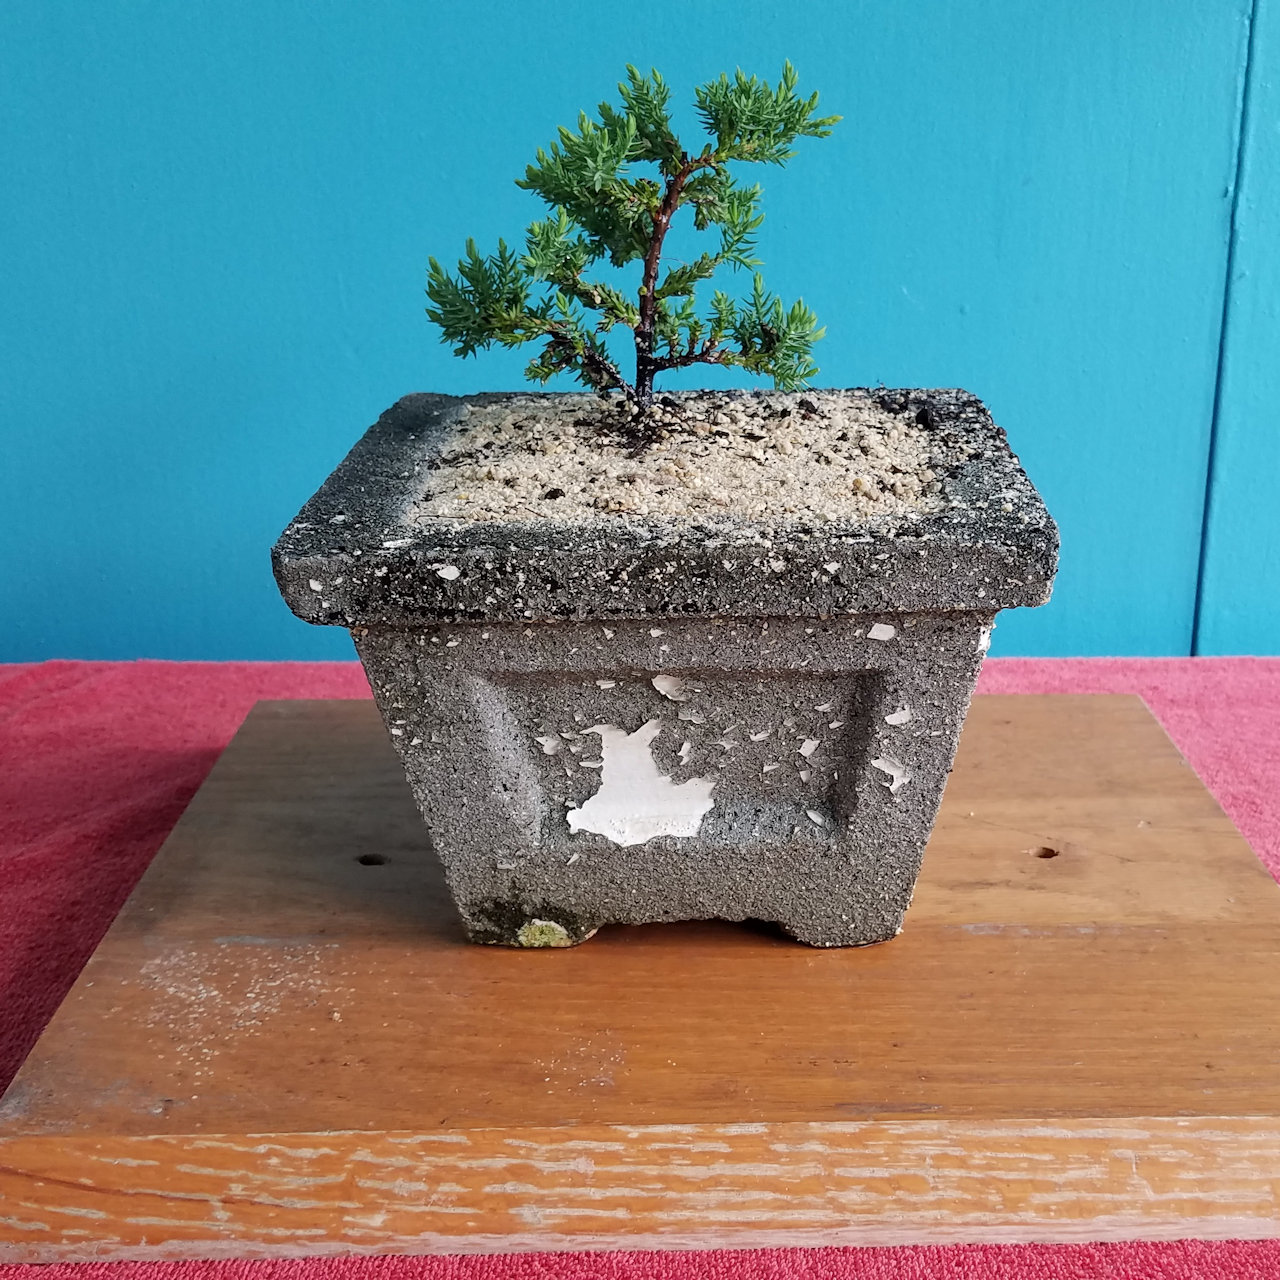
Soil is packed around the roots and a layer of wet sand completes the assembly. The tree is watered in and put in the shade for a few days.
 Email Richard dot J dot Wagner at gmail dot com