Annular Pocketed Flange Modeling and Simulation
To verify the effectiveness of the annular pocketing of a flange to improve joint
stiffness, a solid model of a typical space application flange was created and
finite element analyses were performed, simulating both unpocketed and pocketed flange
types for comparison.
Solid Model
A solid model of a pocketed flange was created using I-DEAS (version 8) solid modeling
and simulation software from Structural Dynamics Research Corporation (SDRC). This
model is shown below in Figure 1:
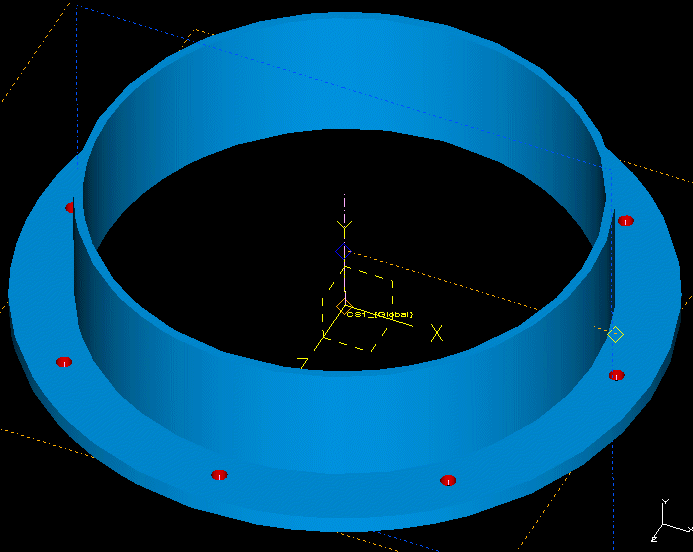
Figure 1: Solid model of a circular pocketed flange.
The outer diameter of the flange is nine inches, the bolt circle (through holes
for eight number 10 screws) is eight inches in diameter, and the inside diameter
is seven inches. The length of the cylindrical shell section is two inches and
its thickness is 1/8 inch. The flange thickness is 1/4 inch, the pocket depth
is 1/16 inch, and the inner and outer lands are 1/8 inch wide.
Finite Element Models
A solid 1/8 inch mesh was applied to the solid model and two load cases were run
simulating a tensile load applied to the top of the cylindrical section.
Simulations
A pressure load of -100 psi was applied to the top surface of the cylindrical section
to simulate a tensile load in the system. For the unpocketed flange, the outer land
was constrained as well as the inner surfaces of the holes to simulate the constraints
of the fasteners. The results of this case are shown below in Figure 2 and Figure 3:
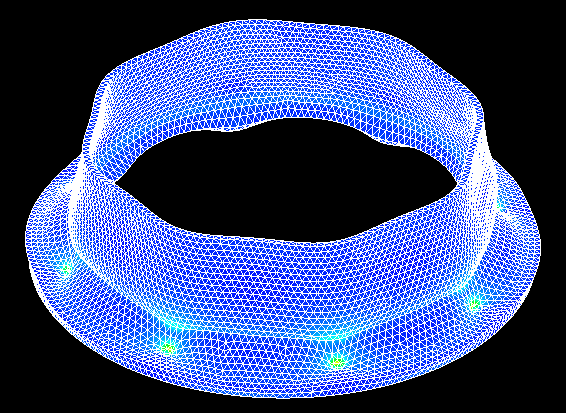
Figure 2: Exagerated deformation of simulated unpocketed flange in tension.
Model file PocketFlange3ModelE.mf1
There is significant lifting of the inner flange area.
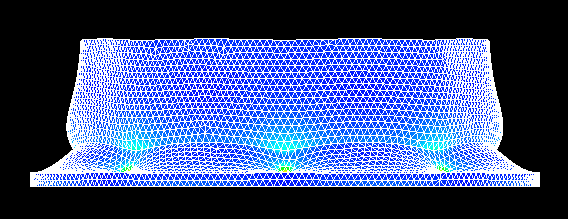
Figure 3: Exagerated deformation of simulated unpocketed flange in tension, side view.
Model file PocketFlange3ModelE.mf1
Using the same load, a constraint was added at the surface of the inner land of the
pocket to simulate the preload induced by the fasteners. The results of this case are shown
below in Figure 4 and Figure 5:
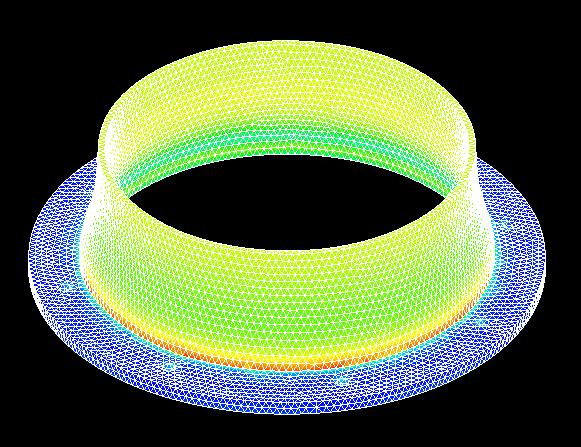
Figure 4: Exagerated deformation of simulated pocketed flange in tension.
Model file PocketFlange3ModelD.mf1
The total vertical deflection of the cylindrical section is much less than for the
simulated unpocketed flange.
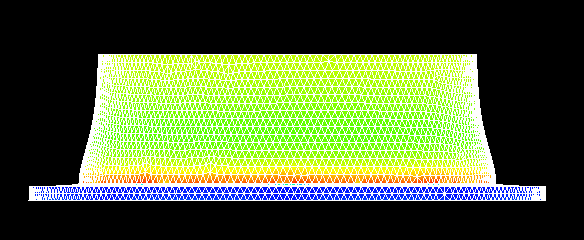
Figure 5: Exagerated deformation of simulated pocketed flange in tension, side view.
Model file PocketFlange3ModelD.mf1
A third case, suggested by Don Jones, was analyzed (not shown here) with a force load on
the screw holes to replace the constraint. This case was intended to demonstrate that
gapping of the inner land between the screws would not occur with moderate tensile
loads. This was demonstrated by observing that the inner land in the regions between
the screw holes remained in compression with the tensile load applied.
Conclusion
The finite element analysis, while not exact, shows potentially significant stiffness
increase for the pocketed flange design. Only pure tension was analyzed, but its
relevance to the bending case is apparent.
 Email Richard dot J dot Wagner at gmail dot com
index.html, this hand crafted HTML file was created December 12, 2001.
Last updated December 25, 2011, by
Rick Wagner. Copyright © 2001-2011, all rights reserved.


 Email Richard dot J dot Wagner at gmail dot com