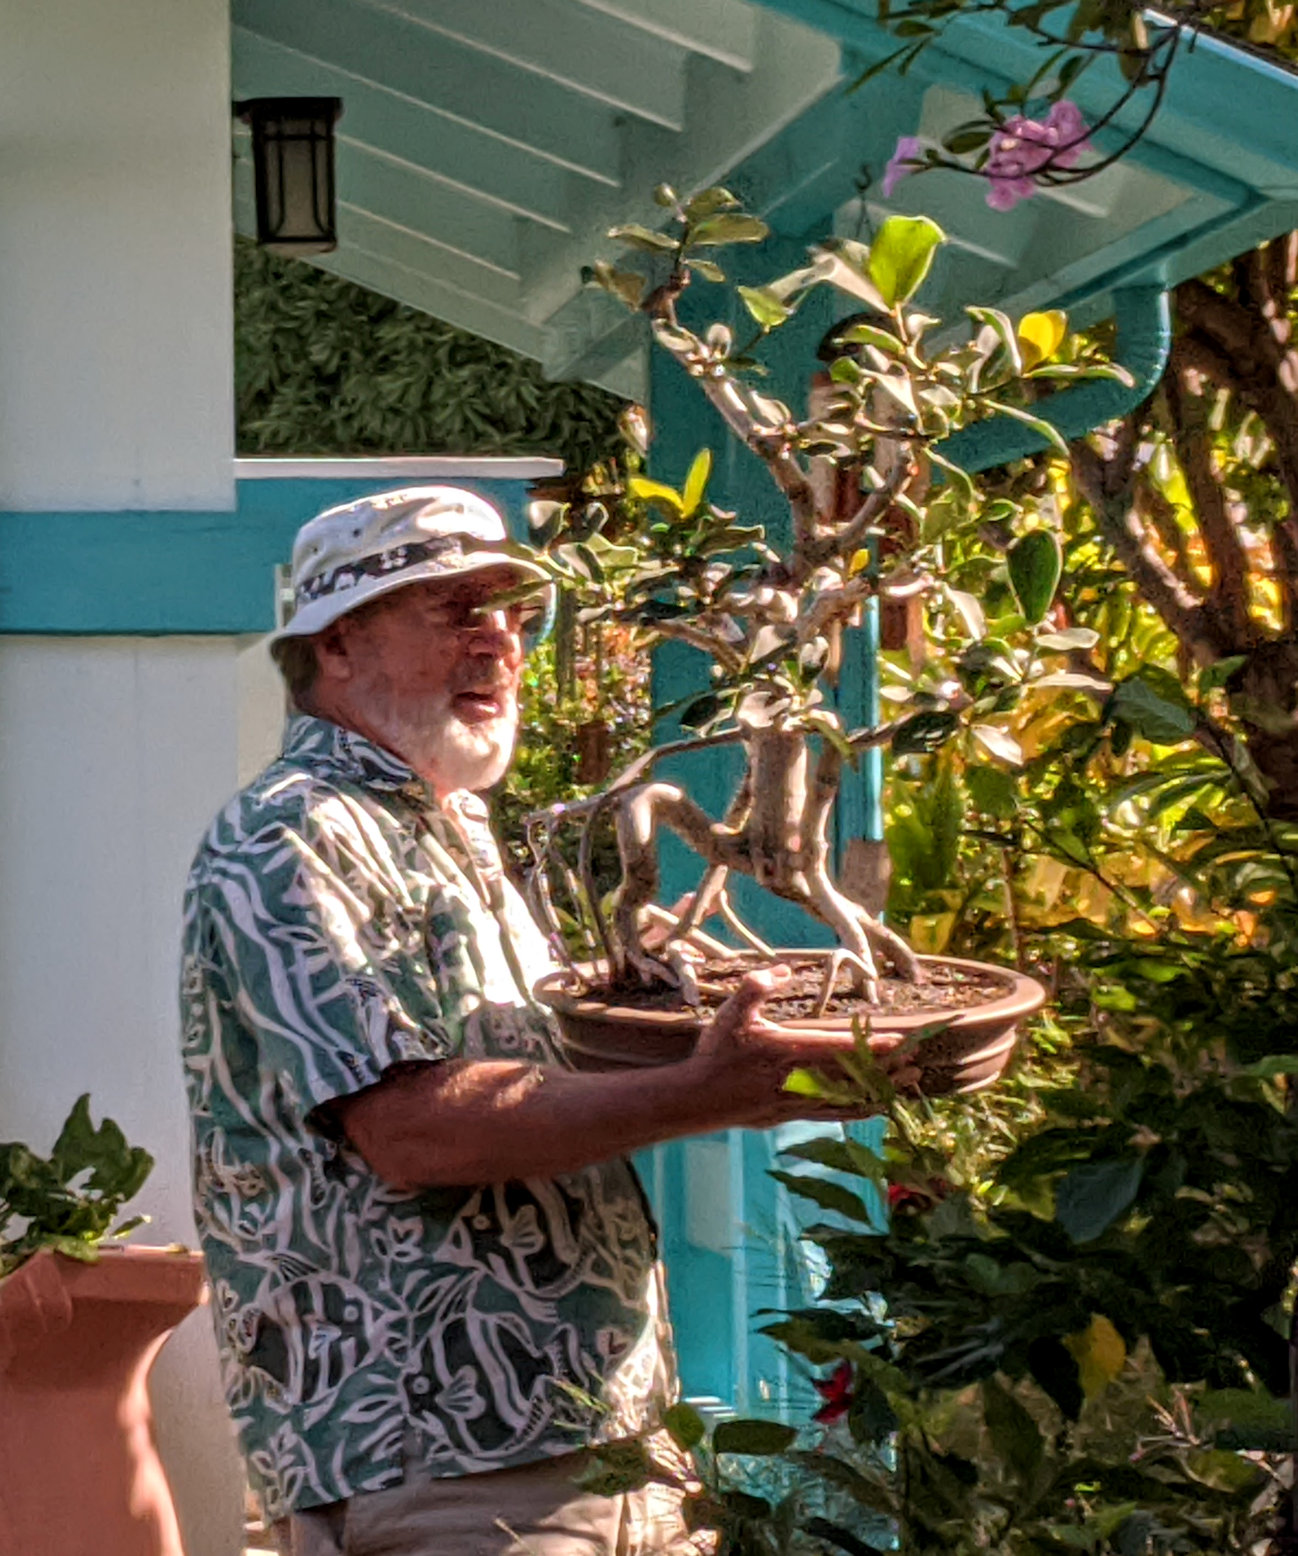
We're going to put that tree (on my left) into this pot.

Preparing the pot to receive the tree. Here I'm cutting screens out of 1/16 inch aluminum window screen.

The large center hole is covered first with a 1/8 inch galvanized iron wire screen, then that is covered with the 1/16 inch aluminum screen.
The three other drainage holes are also covered with 1/16 inch screen. The fine mesh screen keeps the basalt sand from going through the holes.

The screens are covered with wet sand. I use basalt sand that has had the fines washed out of it. The screens are not wired in. It means I will
have to be careful that the screens don't slide off the holes when I put the tree in the pot. Without the sand, the organic material in the
potting soil will clog the screens as it decomposes. So the washed sand maintains drainage and helps keep the bonsai shelves clean.

A half inch layer of potting soil covers the bottom of the pot. In cases where good drainage is essential, a layer of gravel or cinders can be
used. With tropical trees like the autograph tree, this isn't necessary. I'm using Supersoil screened with a half inch screen. It's almost purely
organic material. In cases where more drainage is desired, sand and cinders can be mixed in. I am emphasizing organic material for faster growth.

Removal from the growing box is straightforward. Stand on the box and pull the tree straight up.

Up it comes.

I'm removing soil from the roots by hand into a half inch screen. I will save the used soil for use later because it contains a large amount of
inorganic material (sand and cinders). It can be used to improve drainage of other soil mixes and to fill low spots in the garden.

Now I cut some of the larger peripheral roots using a lopper.

A hand rake is used to remove all the old potting soil.

The roots are washed with water spray from the hose. Here is the result.

I laid the tree on the table to tie some of the aerial roots to the main roots with wire.

Tying an aerial root. The wire will be removed later. This autograph tree styling will emphasize the roots for the octopus root (neagari) style.

It goes right into the pot.

Excess rootage is cut off.

Roots are arranged to fit within the pot.

Potting soil is added to fill the pot.

Soil is added all around and then worked in with fingers.

Another aerial root is tied down.

It's beginning to look like a bonsai in the "octopus root" style.

Getting it wet, wet, wet.

The result next to a bougainvillia I had potted earlier in the day.

The next day, Saturday, July 20, 2019, I added more potting soil on top and finished with a layer of wet basalt sand. I brought it into the
house to photograph with the black backdrop. This is the better front, I think.
I hope you enjoyed this bonsai demonstration. In a few months, when new growth has formed on the branches, I will photograph the bonsai again.


 Email Richard dot J dot Wagner at gmail dot com