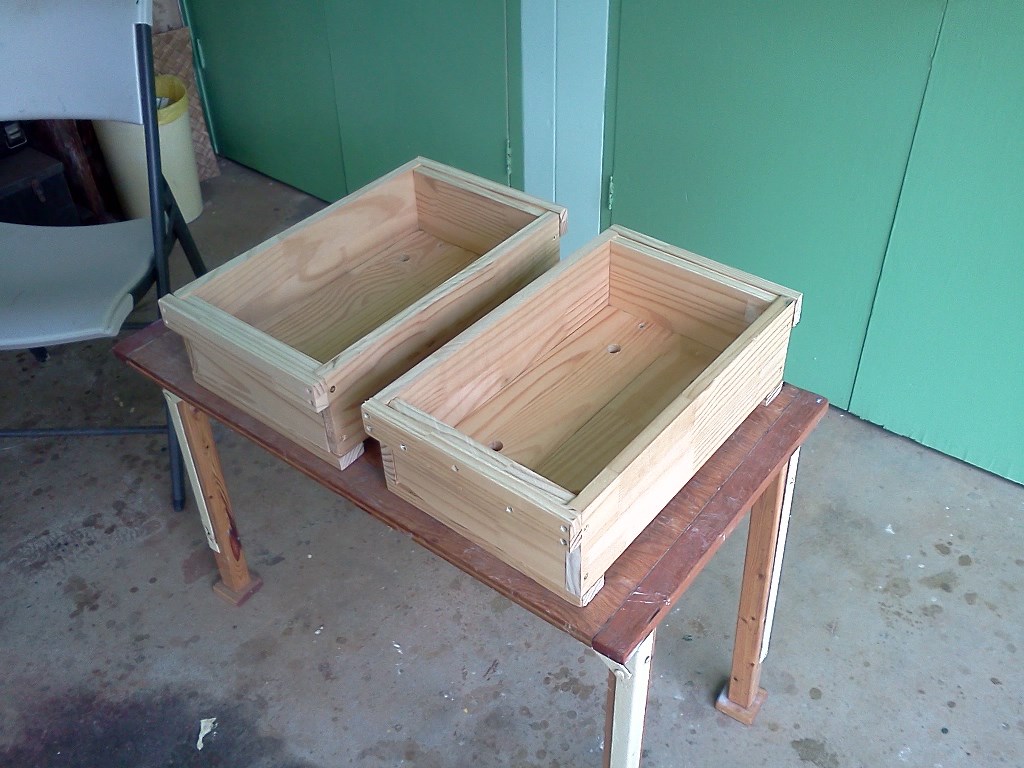
I built a pair of growing boxes on on Sunday, June 2nd 2013, using the same technique as above. These boxes are a
bit smaller, 17 x 11 x 5 inches.The bottom boards fit closely, so I drilled four 3/4 inch drainage holes in the bottom of
each one using a spade bit.
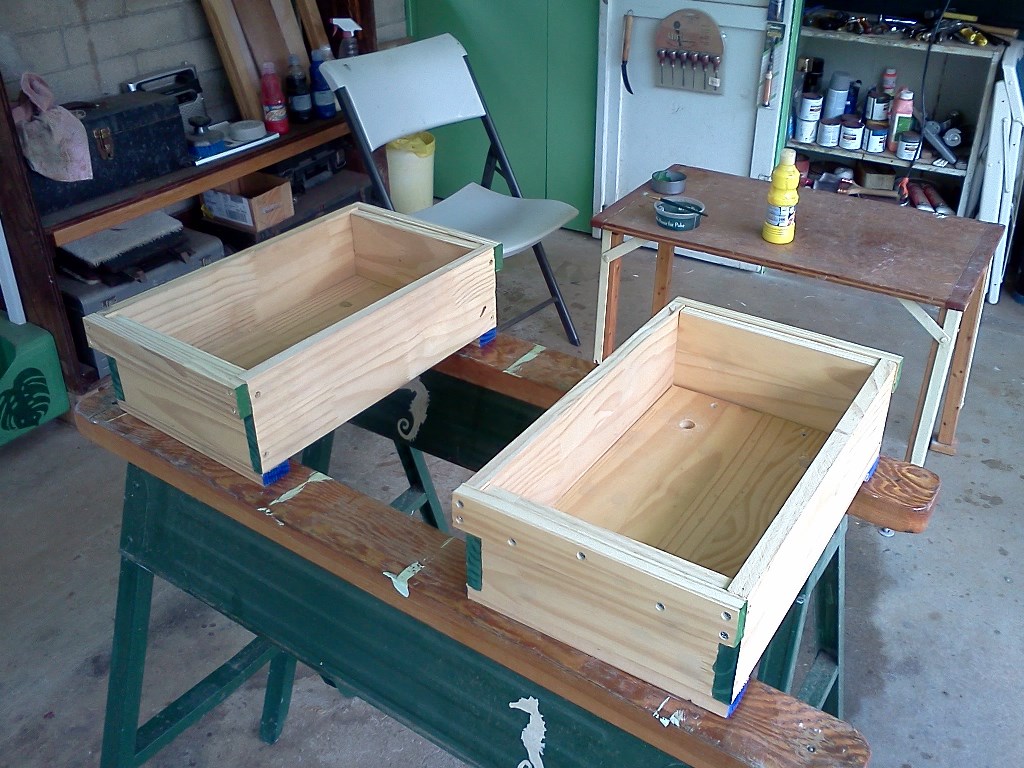
Wood workers know that a spade bit through hole is not drilled through all the way from one side, but drilled nearly through
and then finished from the other side to prevent splintering. I painted the exposed end grain with some whimsical colors.
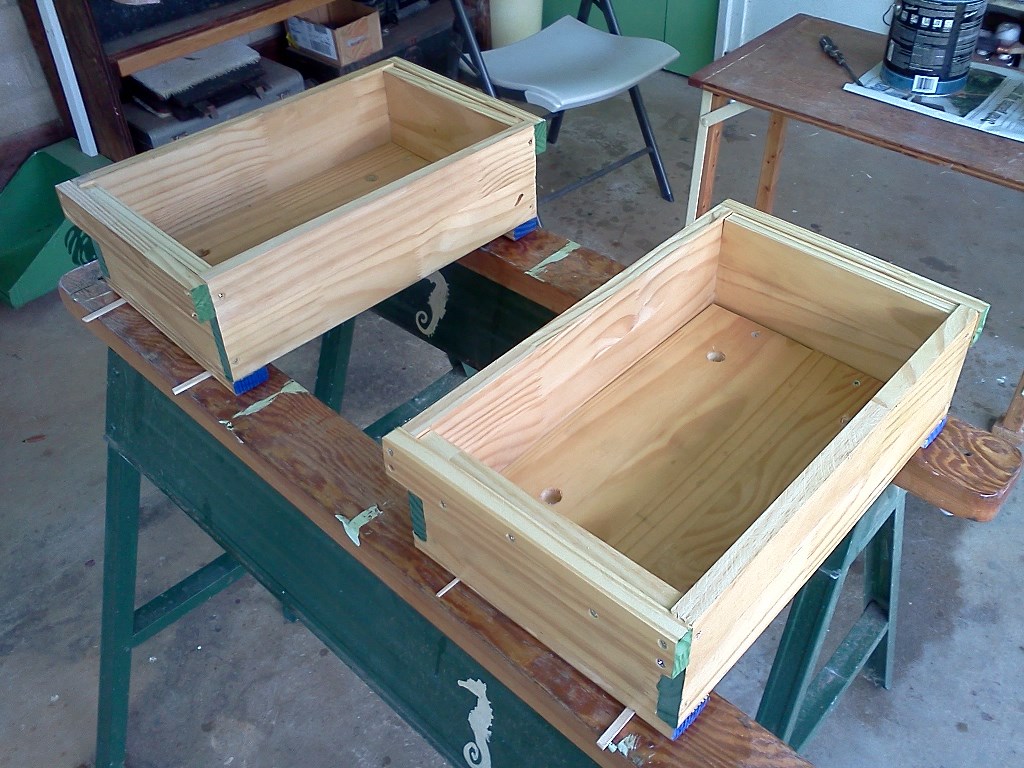
After a coat of varnish, water based this time.
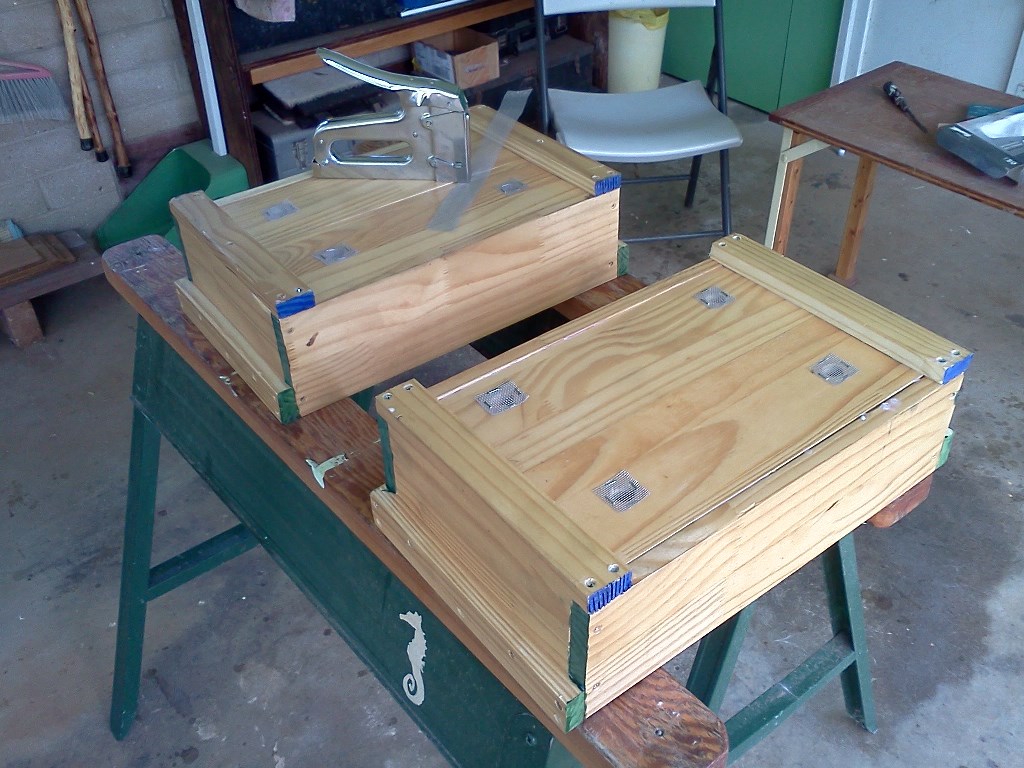
After a second coat of varnish, inside and out, I covered the holes with 1/16 inch aluminum window screen, stapled to
the bottoms. The screens can be put on the inside of the box, but it's easier to staple from the bottom, and doing so
denies slugs a place to curl up and sleep.

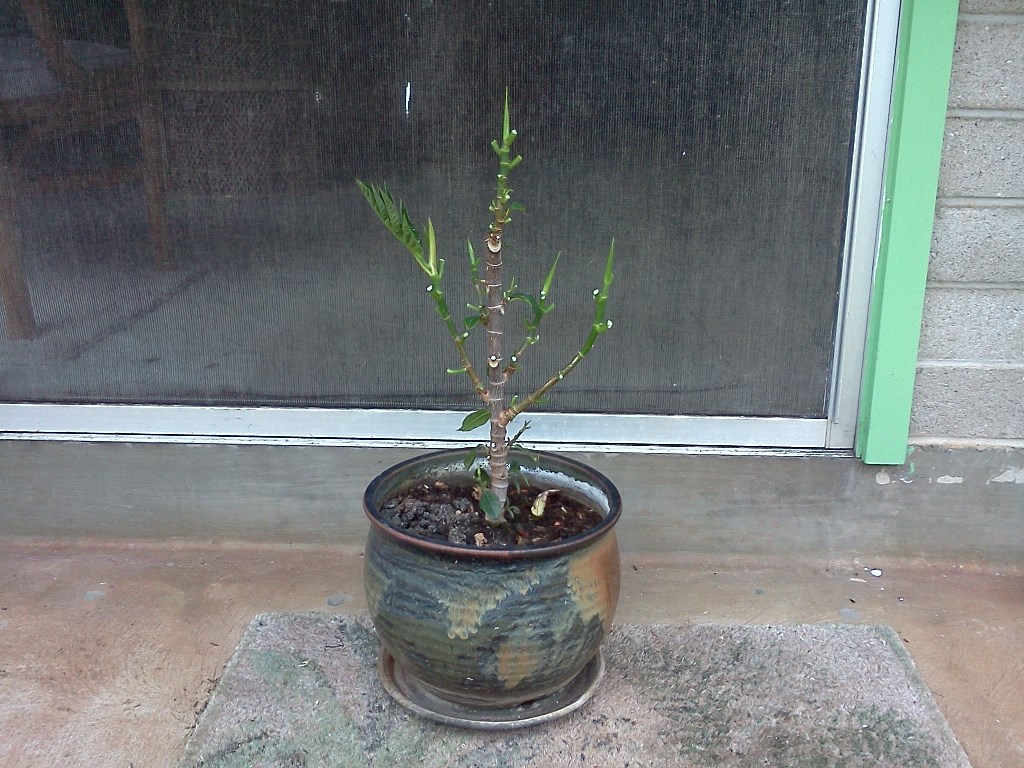
I have had this breadfruit tree growing in the glazed pot for about a year. I'm going to transplant it into the growing
box I built.
First I mostly defoliate the breadfruit with my bonsai shears.
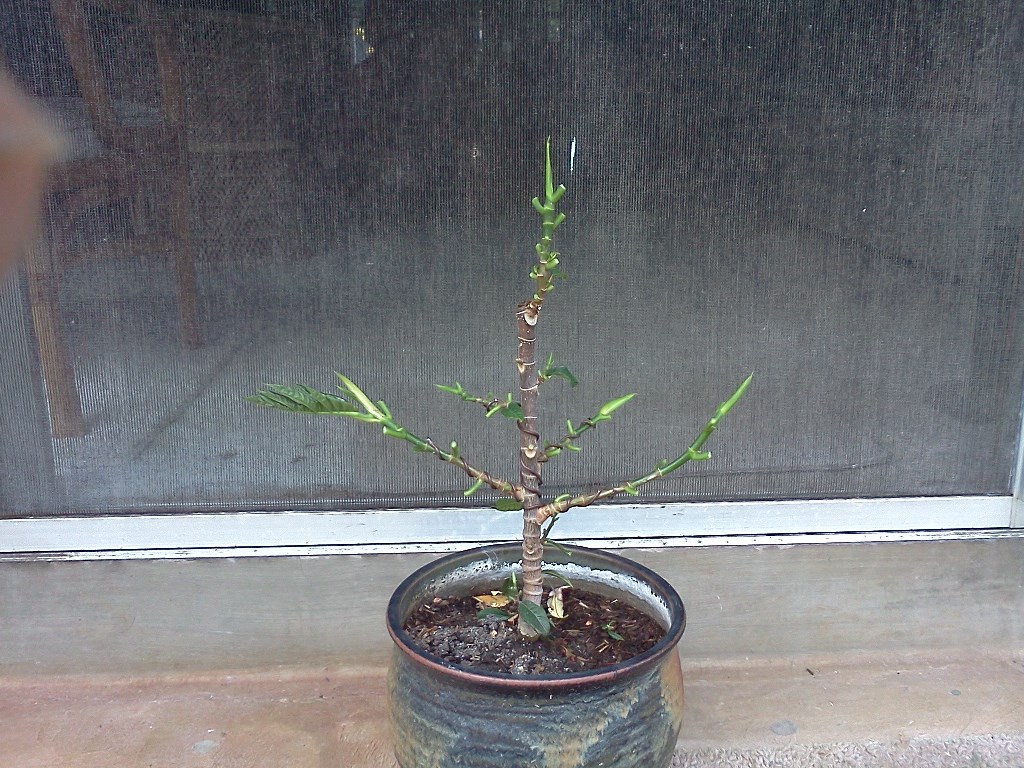
Then I wire four of the branches into lower positions using two pieces of aluminum bonsai waire.
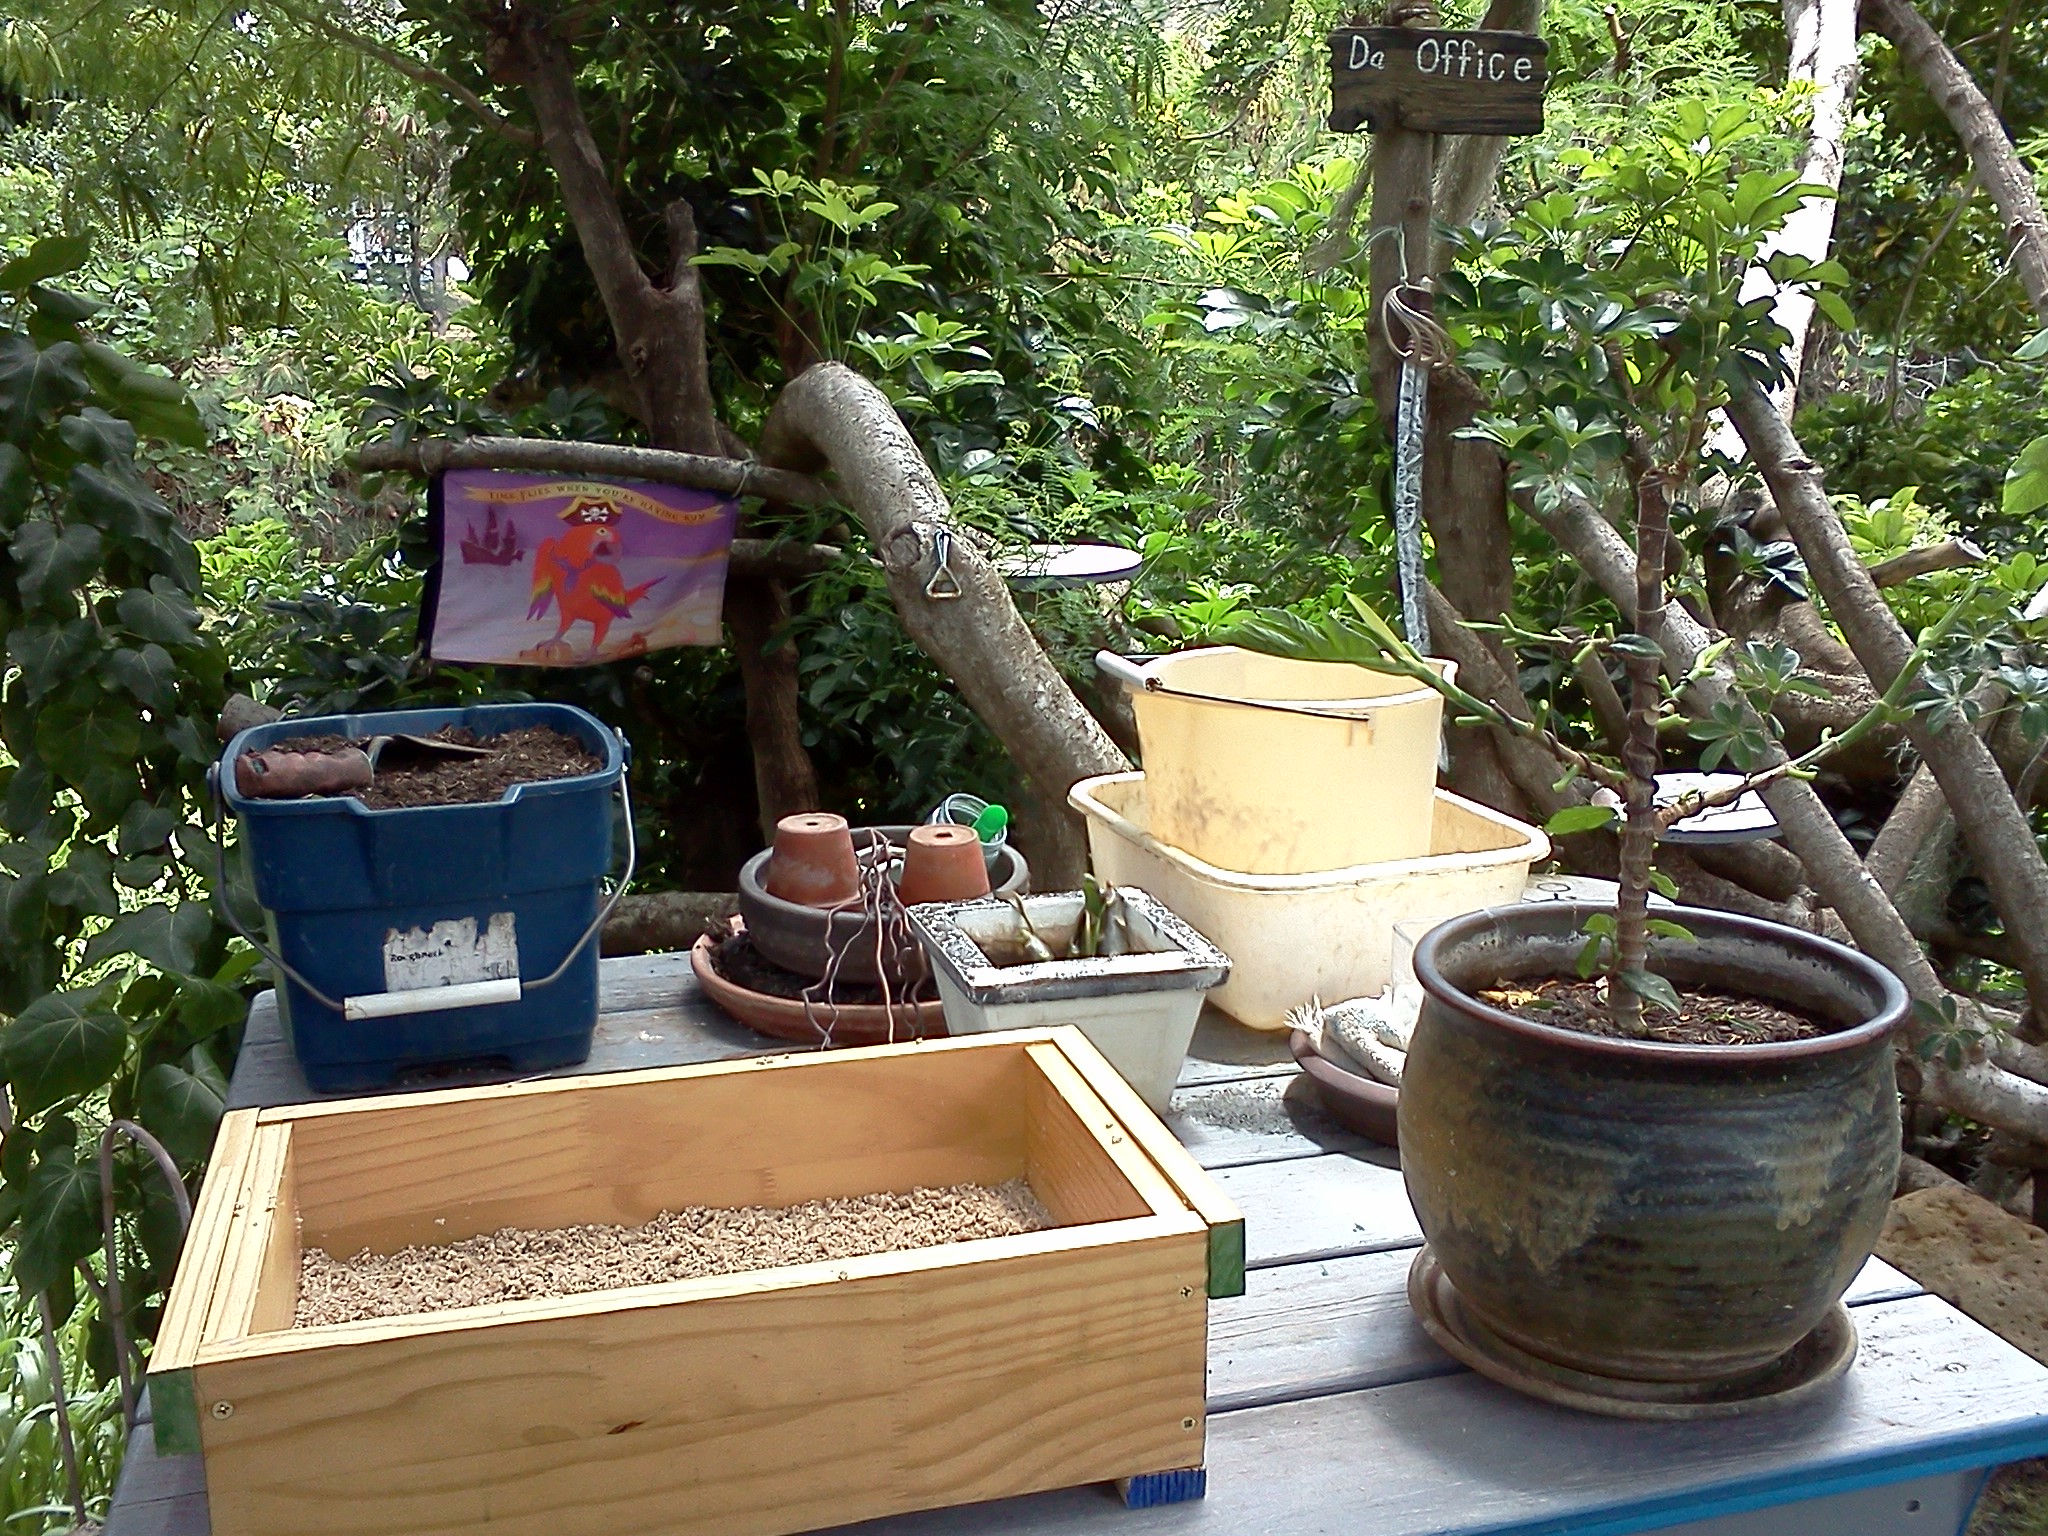
I put washed coral sand into the bottom of the box. Click the image to see the full resolution version.
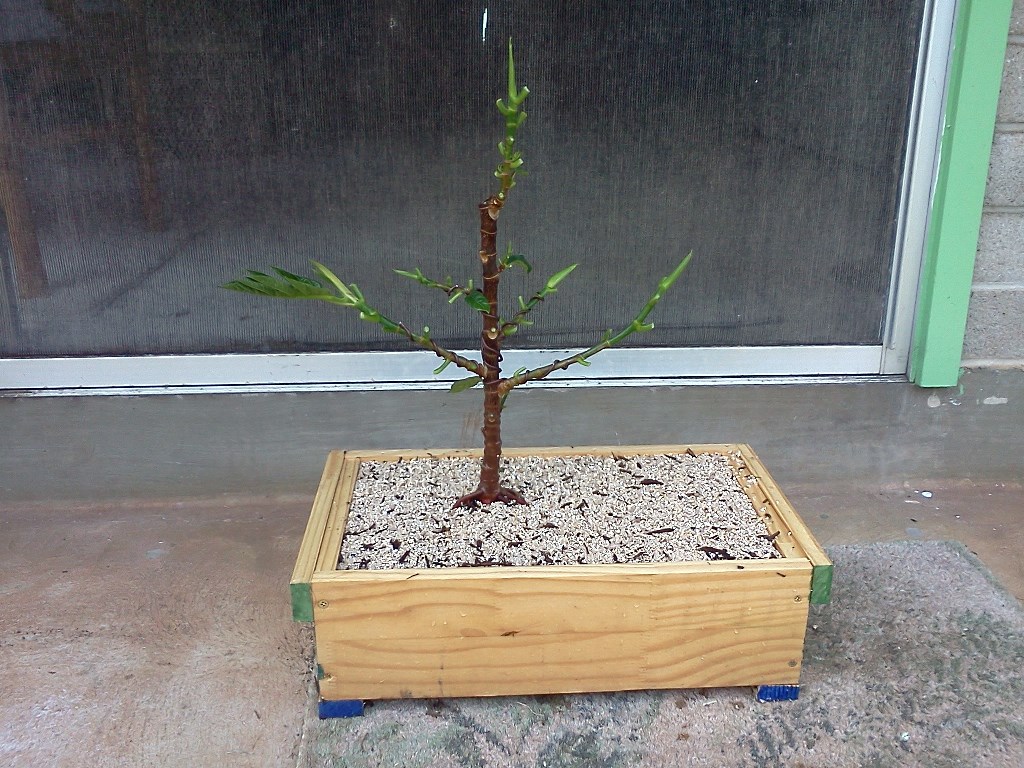
The finished product. I positioned the tree a bit to the left and rear of the box, filled it with potting soil, and
finished off with a layer of washed sand on top, leaving a bit of the nebari (rootage) showing.
 Email Richard dot J dot Wagner at gmail dot com