Developing a Croton Using a Growing Box
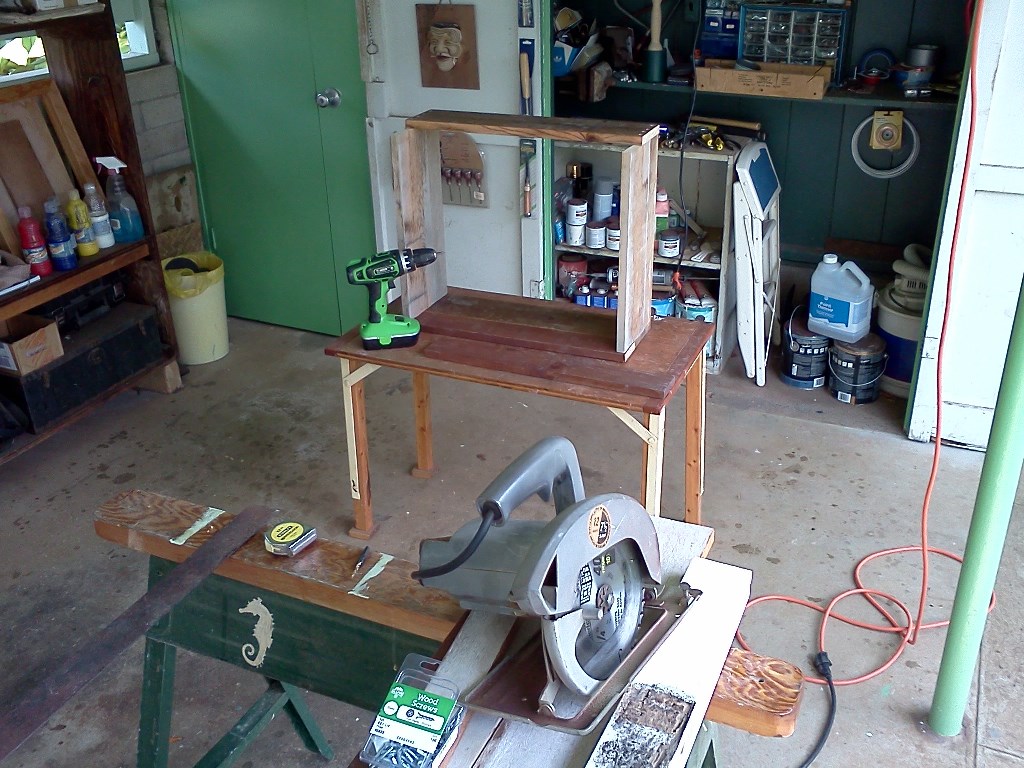
Making the Box
I used scrap wood I had lying around the car port, but of course new wood will work just fine. I used a circular saw for
both ripping and cross cutting. You will need a drill bit for countersunk holes for the wood screws. I used number eight
galvanized steel wood screws and a power philips bit.
You have to decide on the size and shape of your box. I needed something appropriate for planting a croton I was planning
to dig from the back yard. Compute the board lengths and widths and find or purchase and cut as necessary.
I have seen and made quite a few growing boxes of different designs. I arrived at the design shown here a few years ago
and continue to use it beacuse it is simple, rugged, and works well for growing bonsai.
If using multiple boards for the sides, it's important to use different widths, staggered end to side, so that the
boards will interlock with overlapping fasteners.
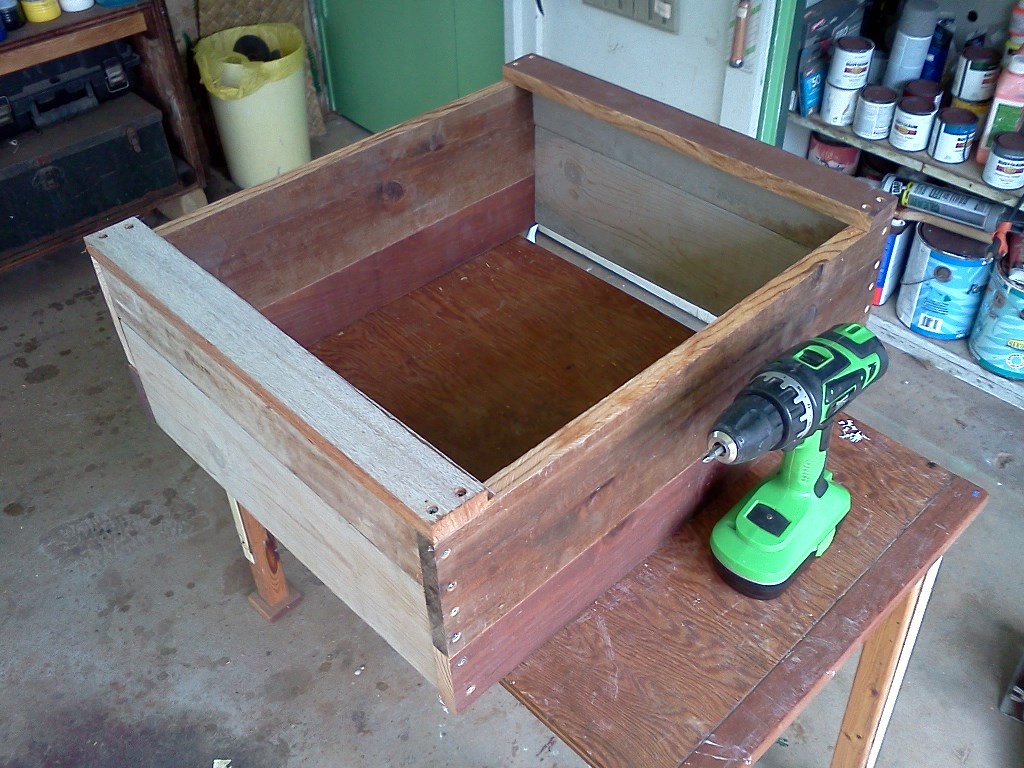
I put two foot boards on the bottom. These perform three functions. First, they pin the front and back boards which are
fastened by screws into the end grain of the side boards. As most woodworkers know, screws into end grain hold weakly.
Second, the feet allow air to circulate under the box and promote drainage, just as the feet on a ceramic bonsai pot do.
Third, they hold the bottom boards, to be placed inside later.
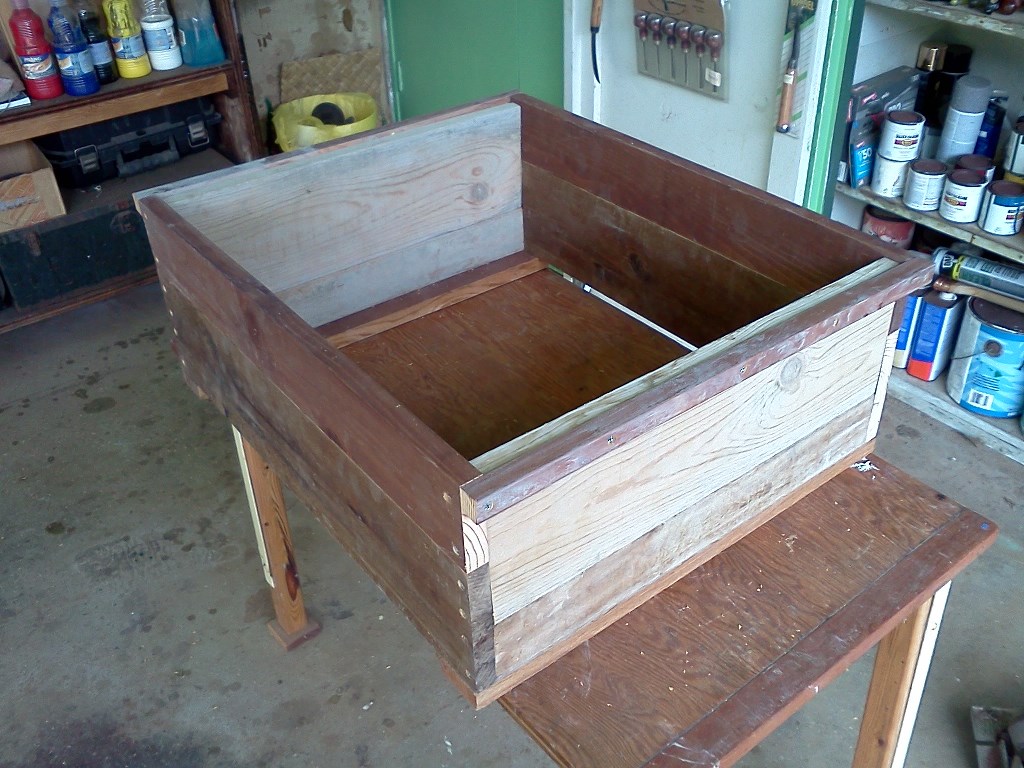
I put two handle strips on the top sides. They perform two functions: they pin the top front and back boards and
make it easier to pick up the box when it's being used.
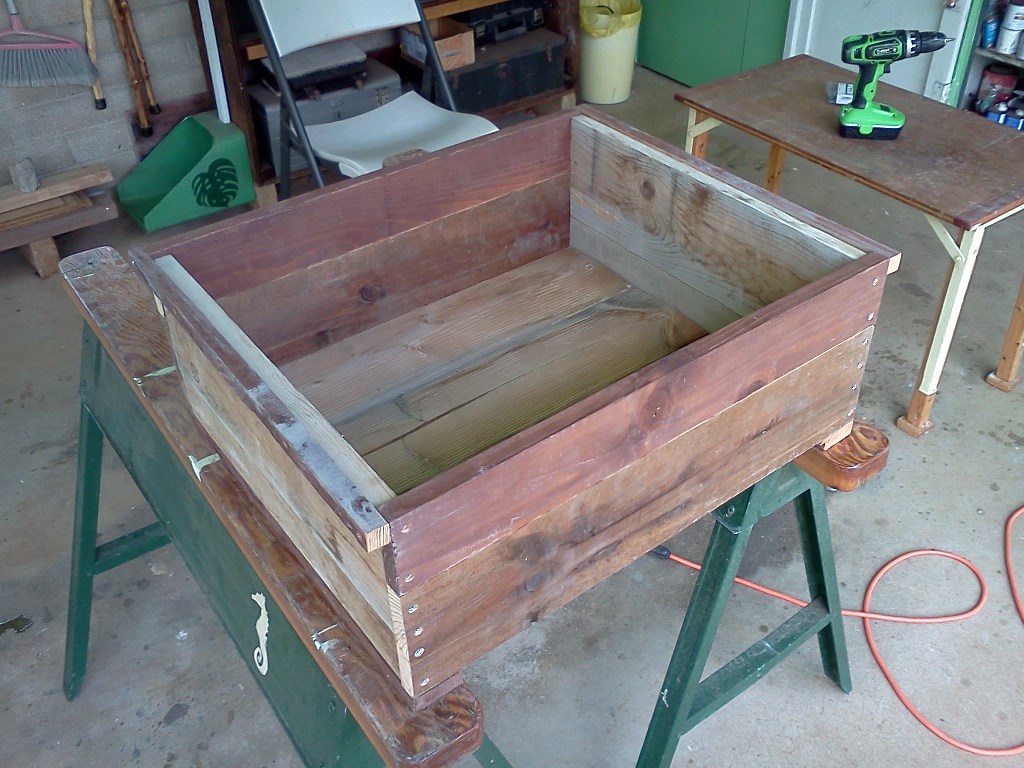
I finished assembling the box by putting boards in the bottom, each fastened by one screw at each end.
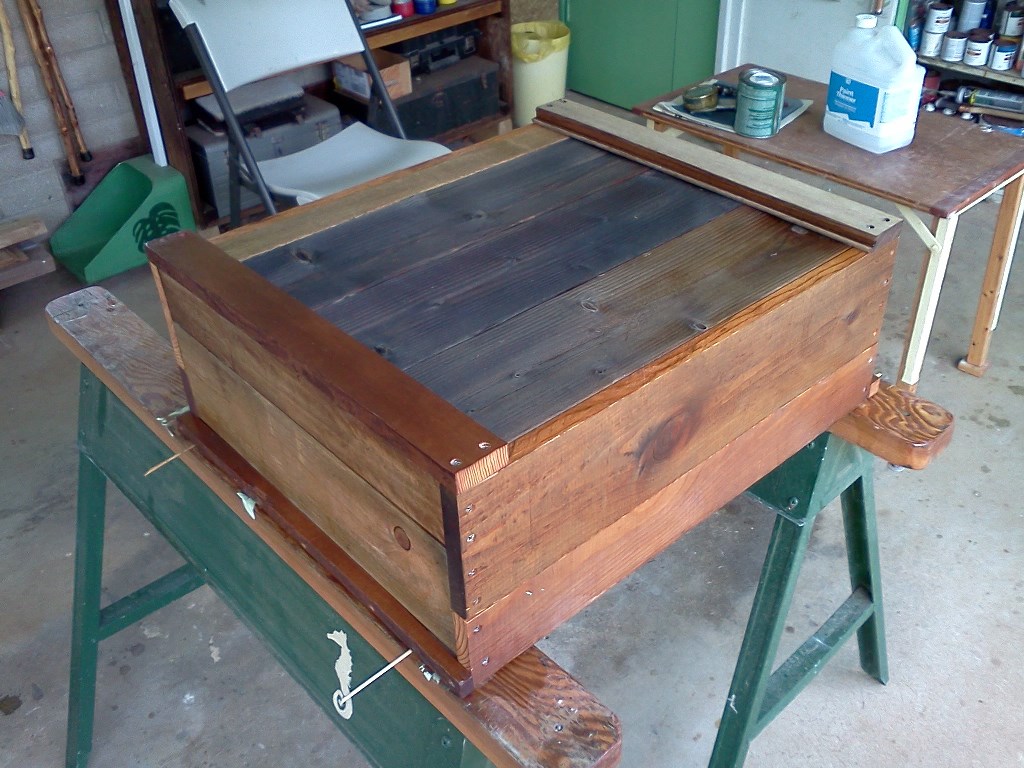
Spar varnish inside and out will help the box last a long time. I used two coats.
Using the Box
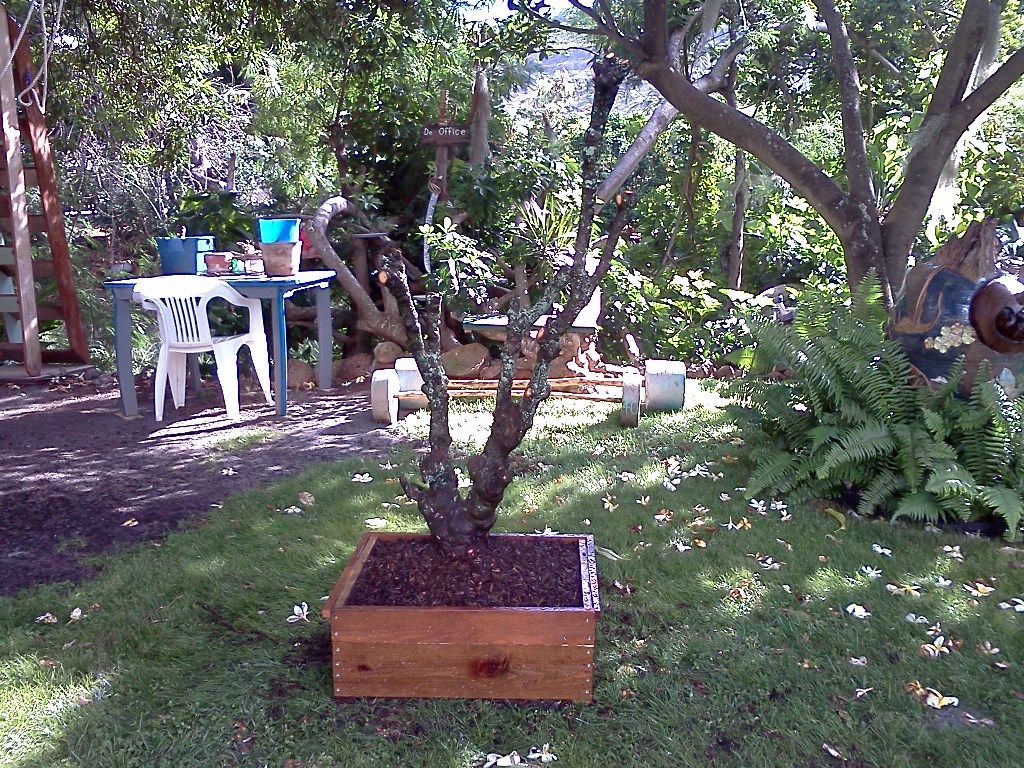
The
croton
will eventually become bonsai, if it lives. The box is already approximately the size and shape of a deep
rectangular bonsai pot. The twin trunk tree will eventually go into a ceramic bonsai pot about half as deep.
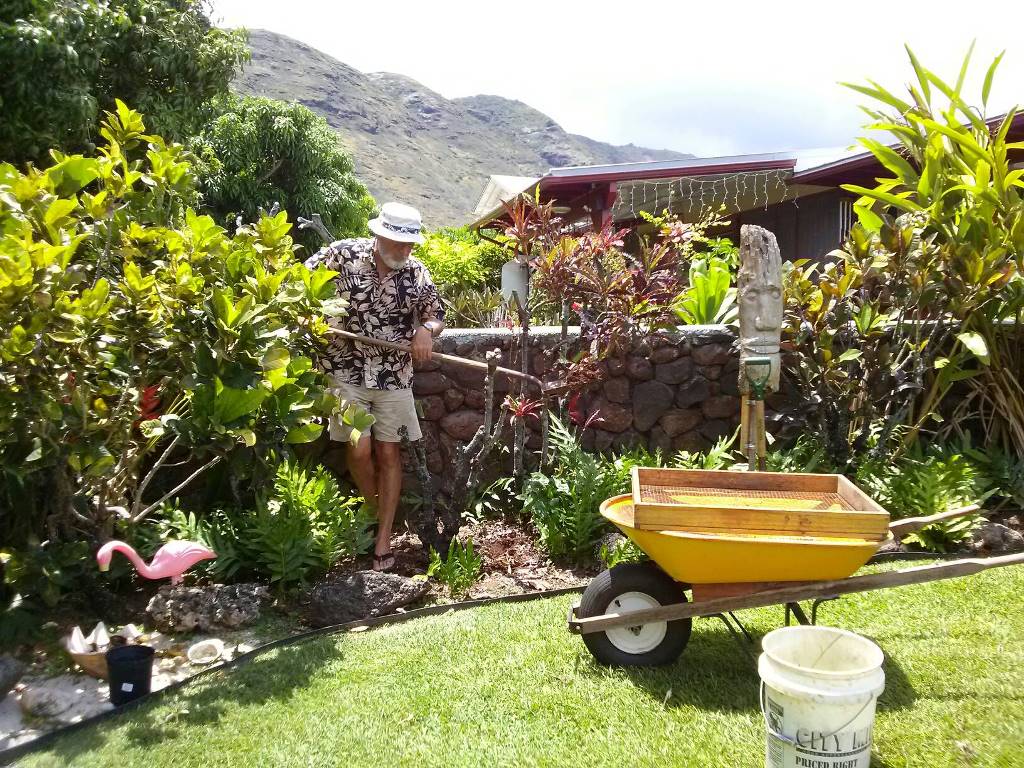
Andrea wanted to replace one of the crotons with a plumeria. She pruned off everything smaller than a broom handle,
and I started to dig around it on Saturday, May 25th, 2013.
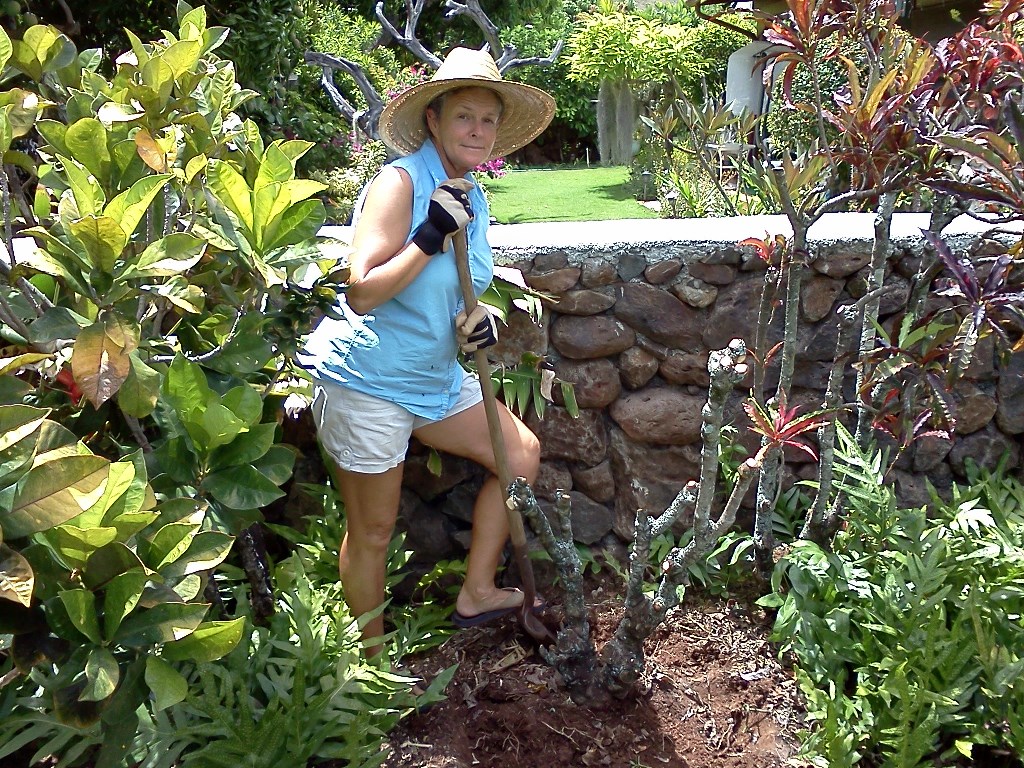
The croton has been there over 50 years. Digging it up is not trivial.
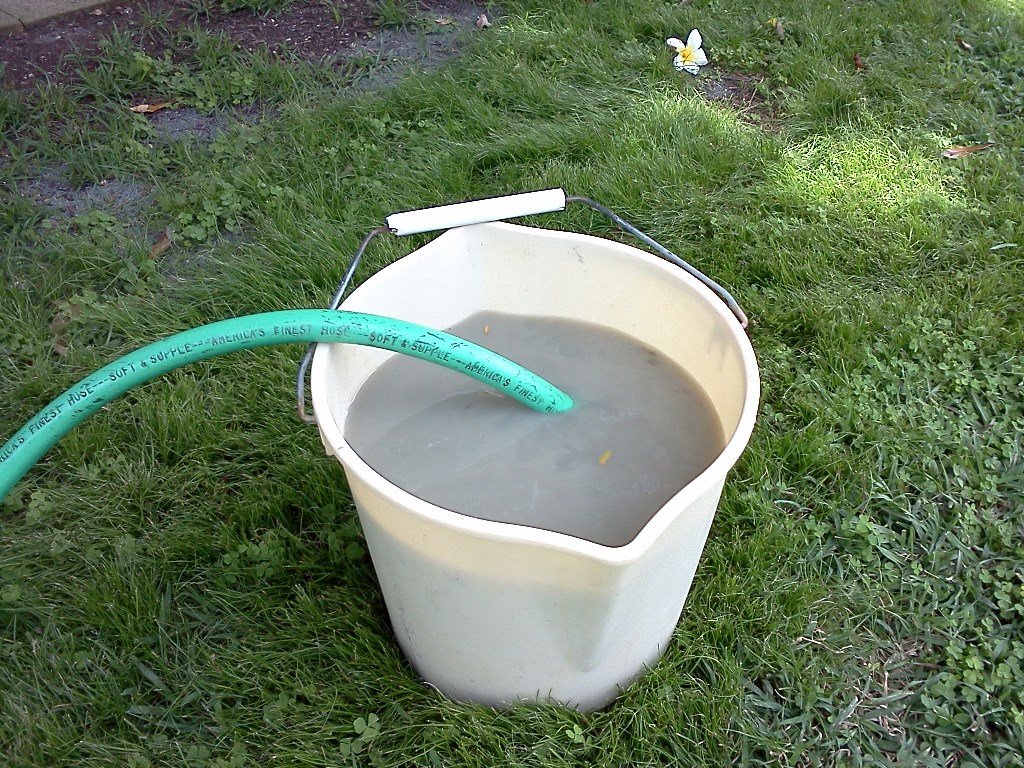
Meanwhile, I prepare for putting the croton into the growing box. I wash the fines out of a bucket of sand.
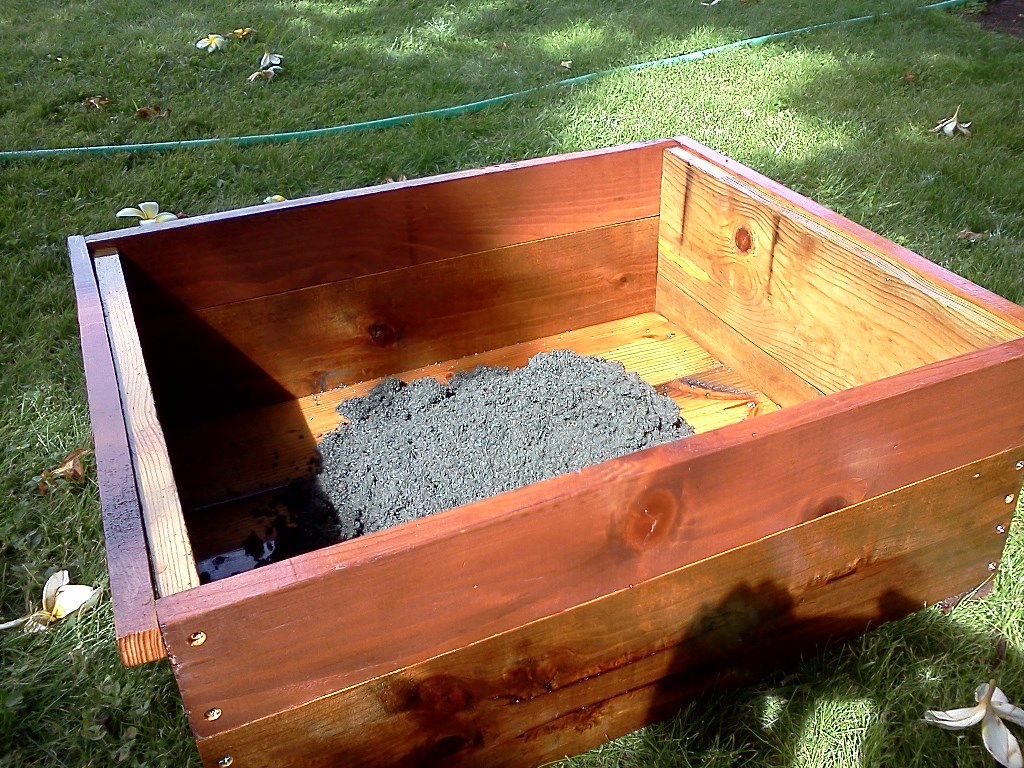
Wash the sand until the water runs clear. Then put enough sand in the box to cover the bottom.
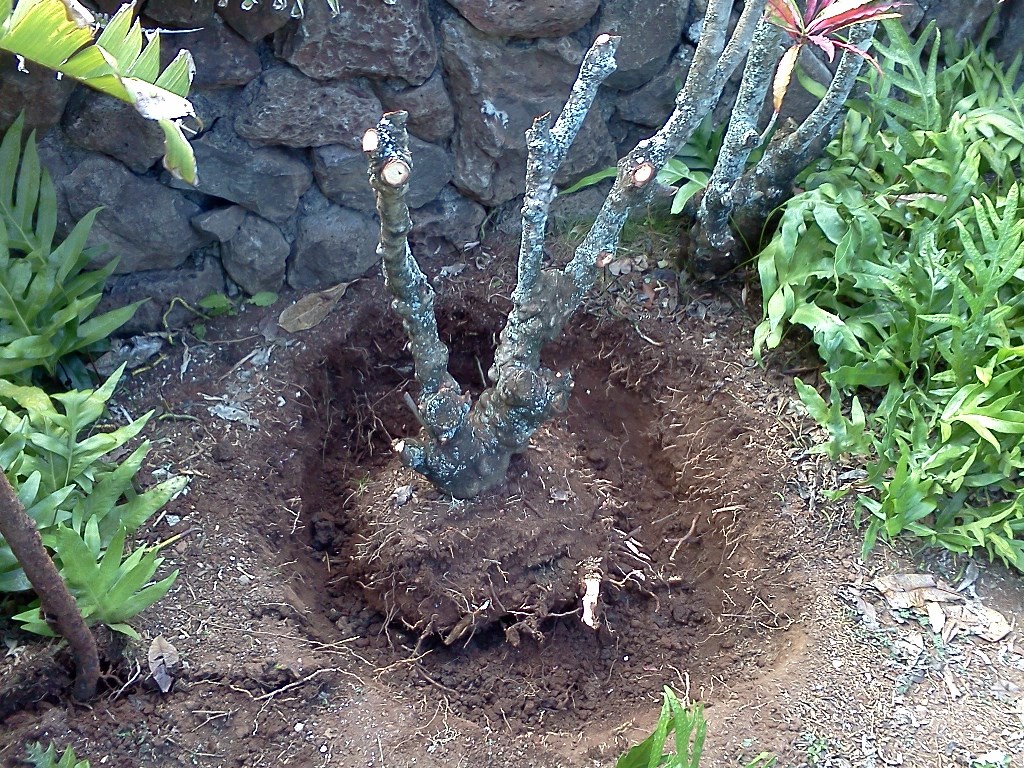
Andrea has trenched all around the croton.
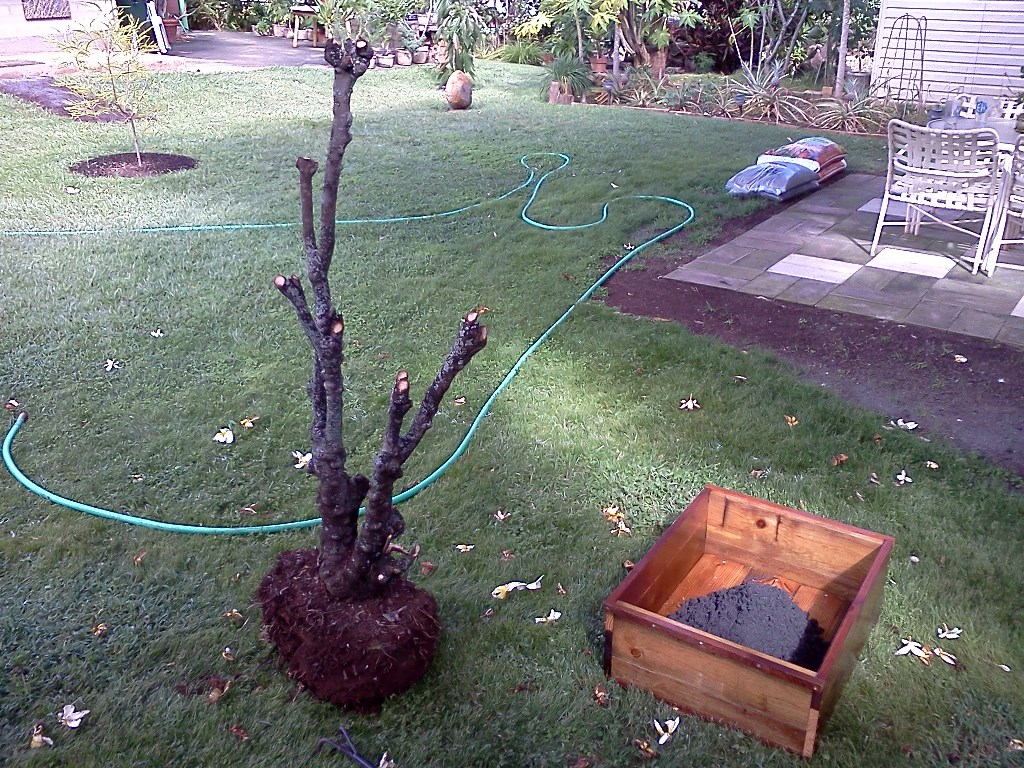
I remove the croton and position it by the box.
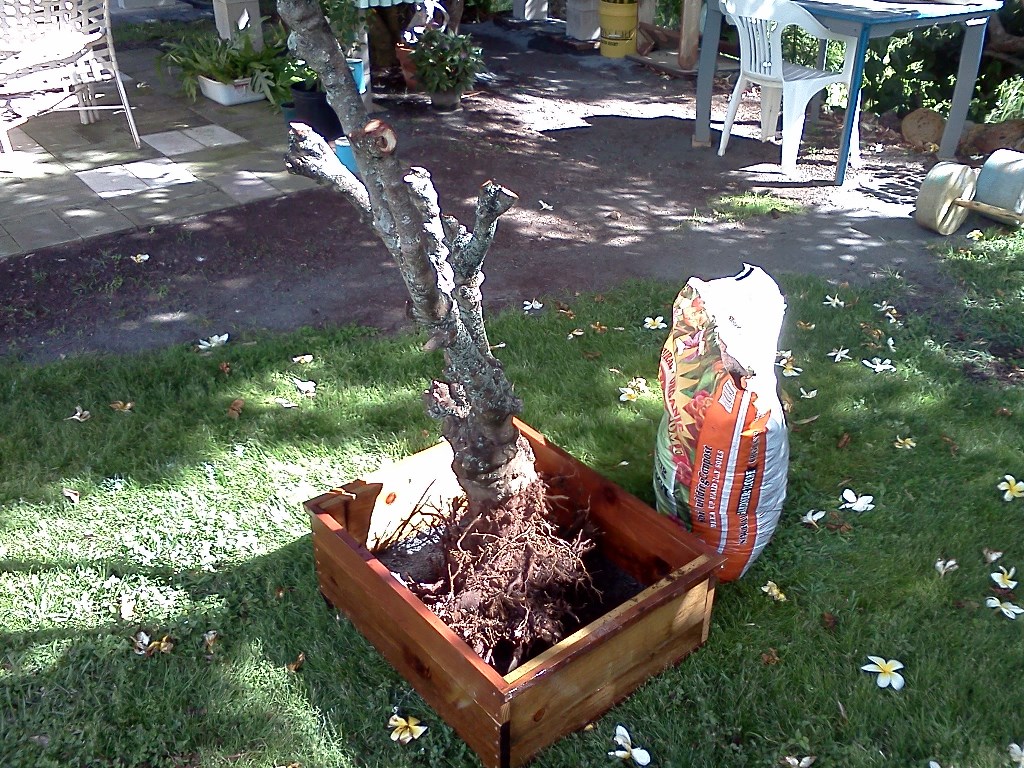
Having spread the sand in the bottom of the box and removed much of the dirt from the roots, I position the croton in the box.
I have added compost to the box and watered it in.
Washed sand is put on the surface of the compost. This adds some rigidity to make the croton more stable.
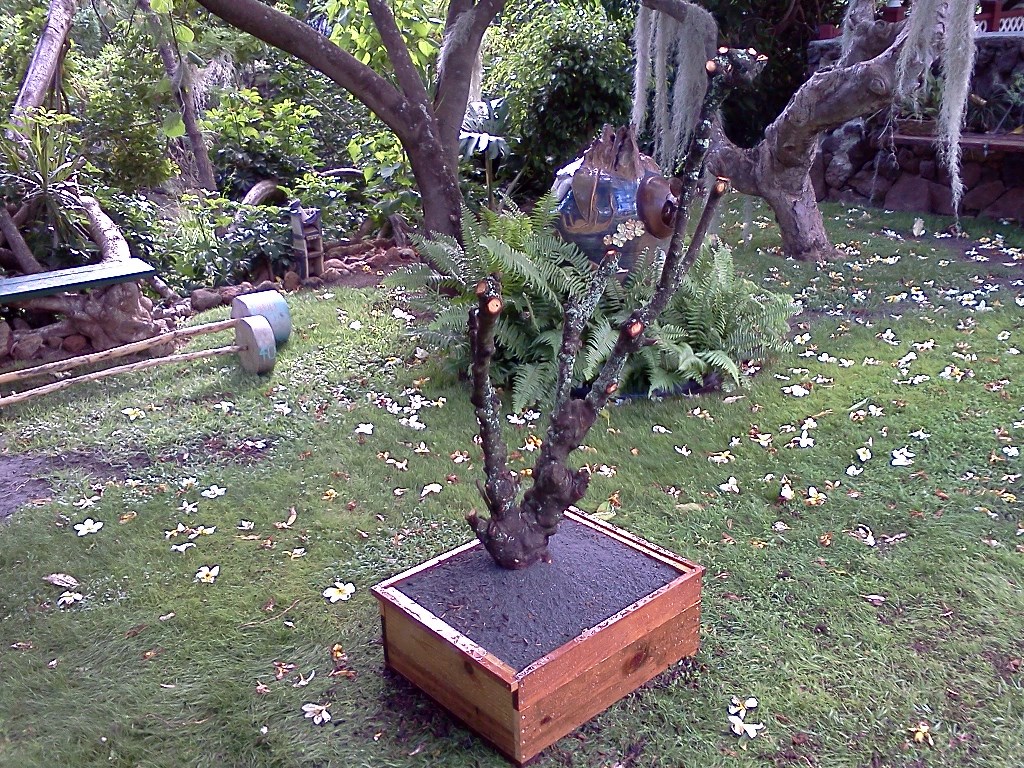
Nine Months Later

Nine months later, the croton is doing well. Some of the longer branches have been cut earlier. February 15, 2014.
Croton Major Makeover
The croton has grown well in its original box and was transplanted to a shallower box in 2015. In November, 2017, I decided
to do a complete makeover of the tree to address its major flaw, reverse taper.
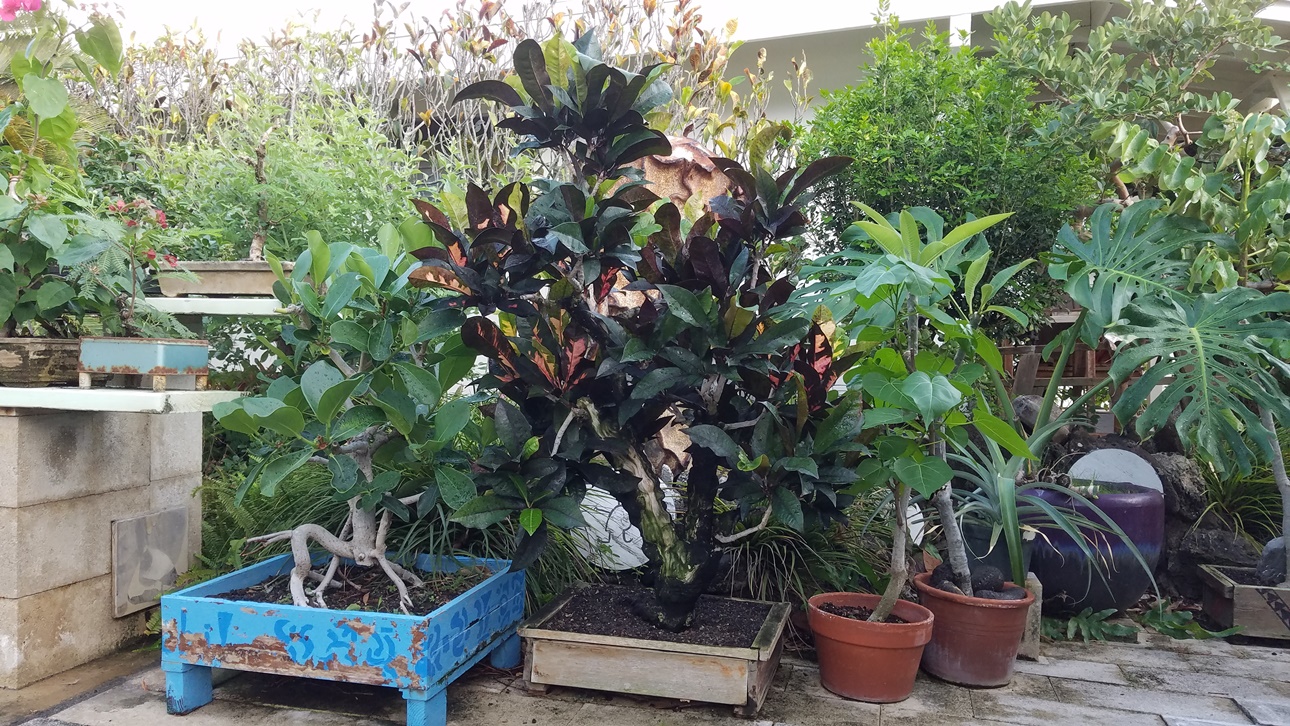
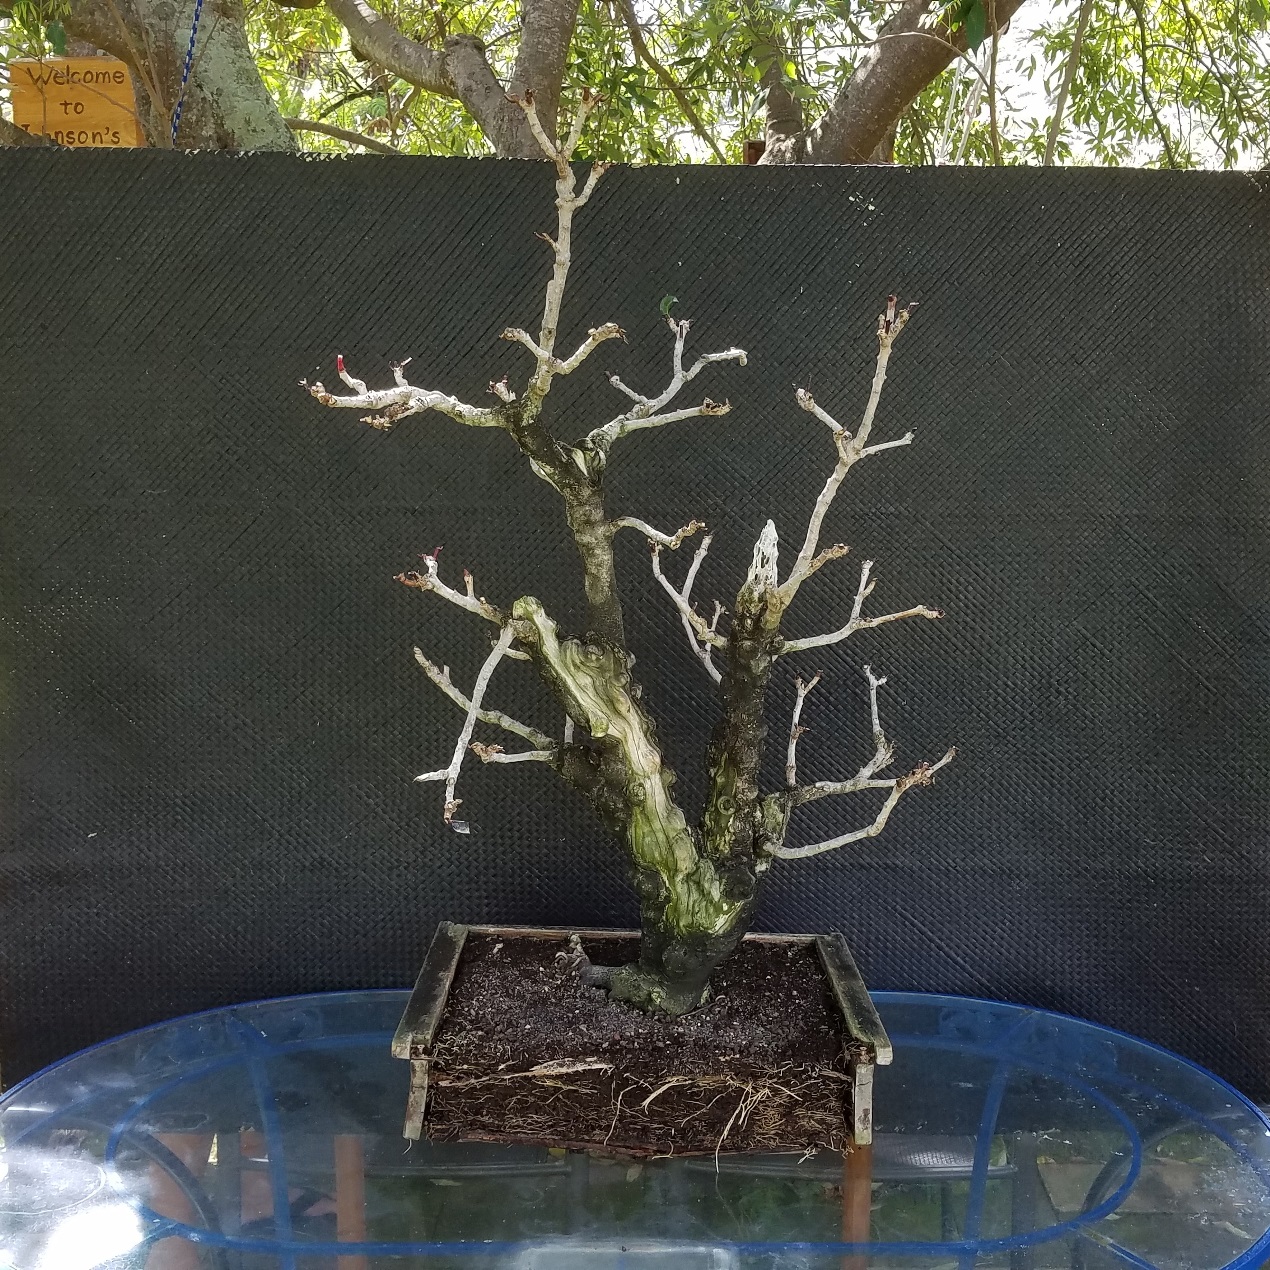
I photographed my bonsai croton (center) in the evening after watering. Notice the shallower box.
This is the other side of the croton bonsai. See how the trunk gets wider from the narrow base? If this flaw is not addressed
the tree will never become a good bonsai.
Monday, November 6: After defoliation. I used the black backdrop for the photograph. Notice the severe reverse taper.
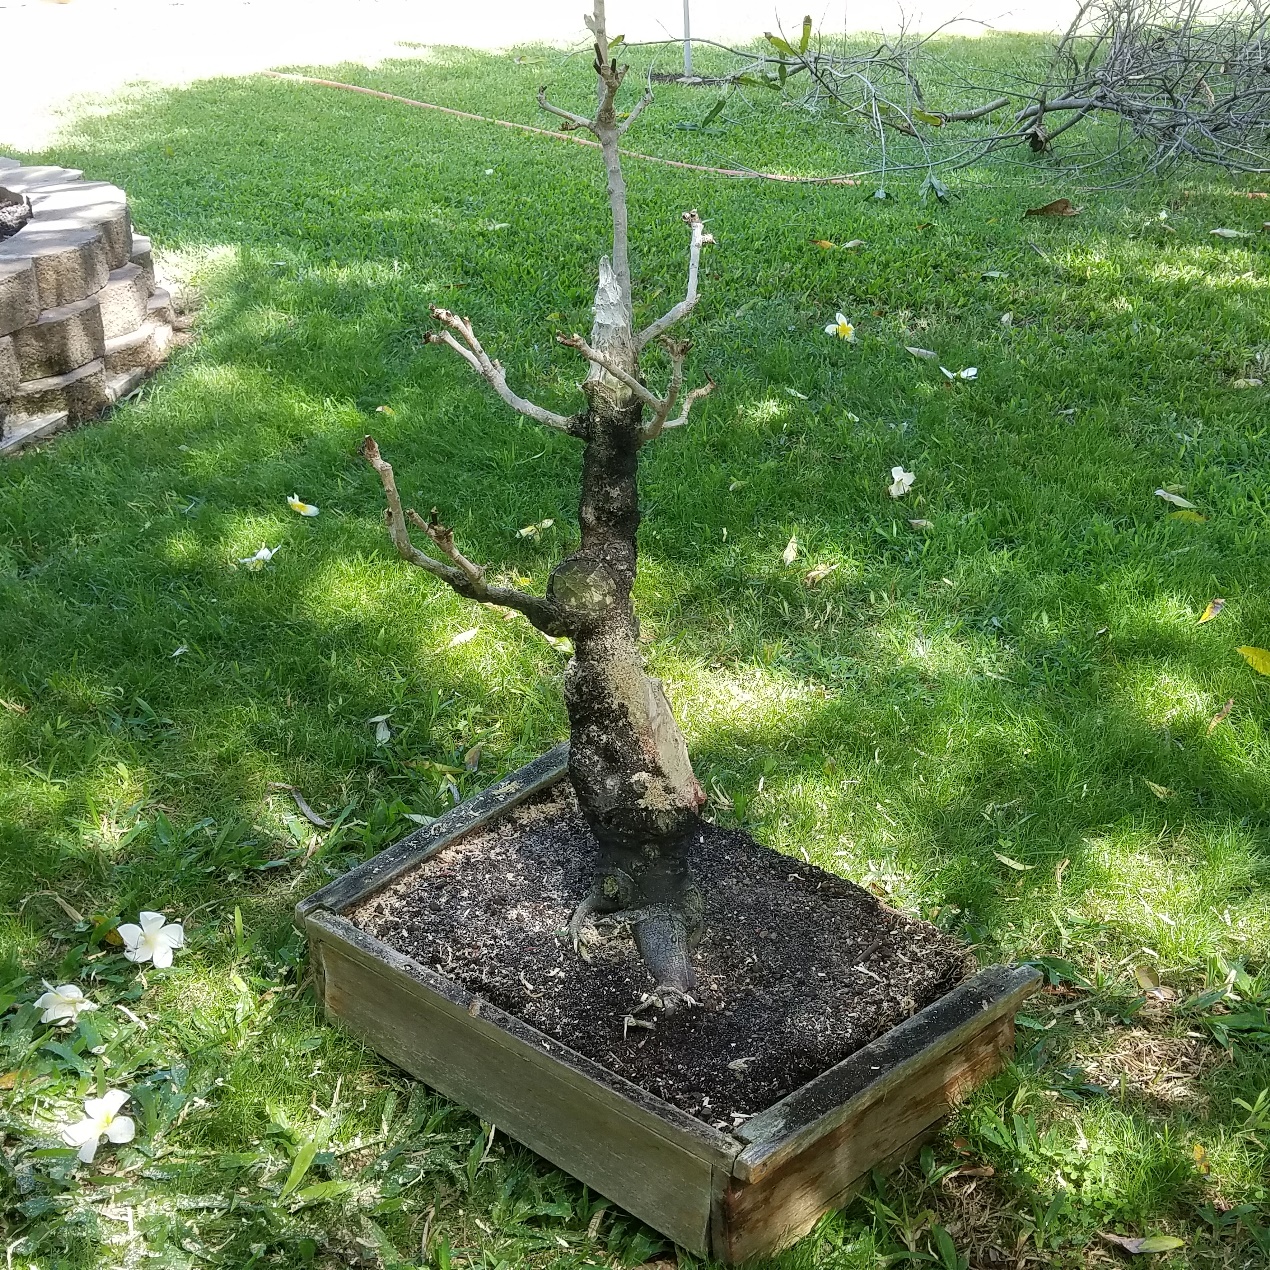
After cutting off one trunk with a chainsaw and reducing the remaining trunk.
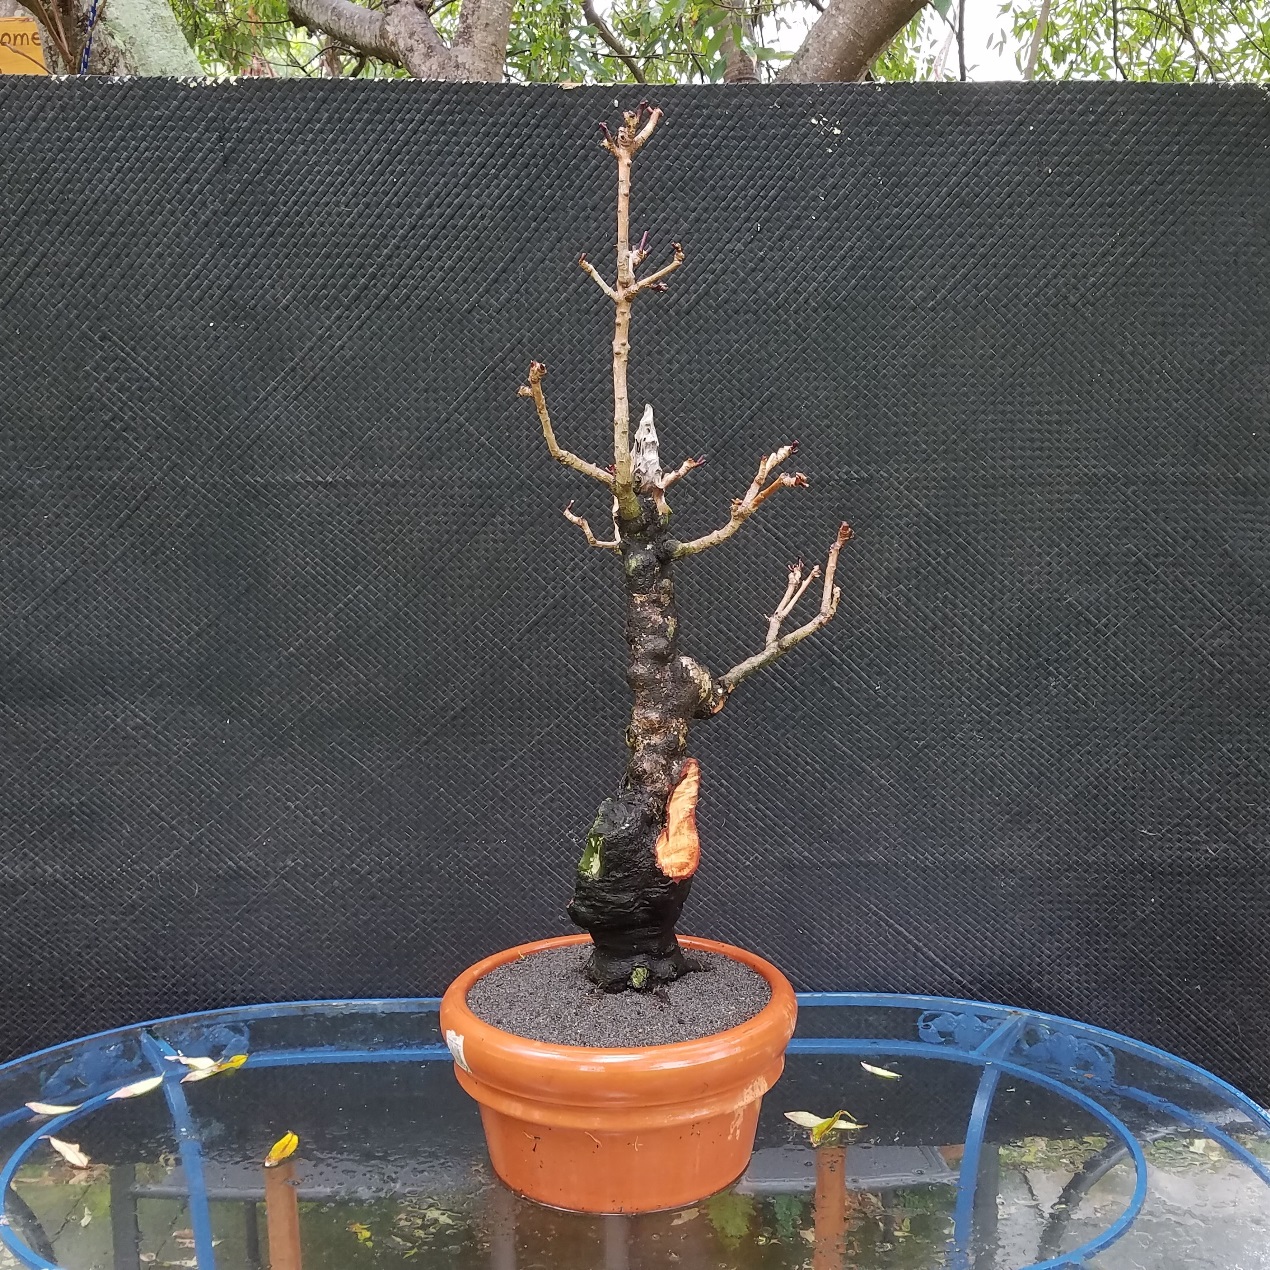
Tuesday: the tree has been repotted and set vertical. The reverse taper is reduced and will be reduced some more after it has recovered.
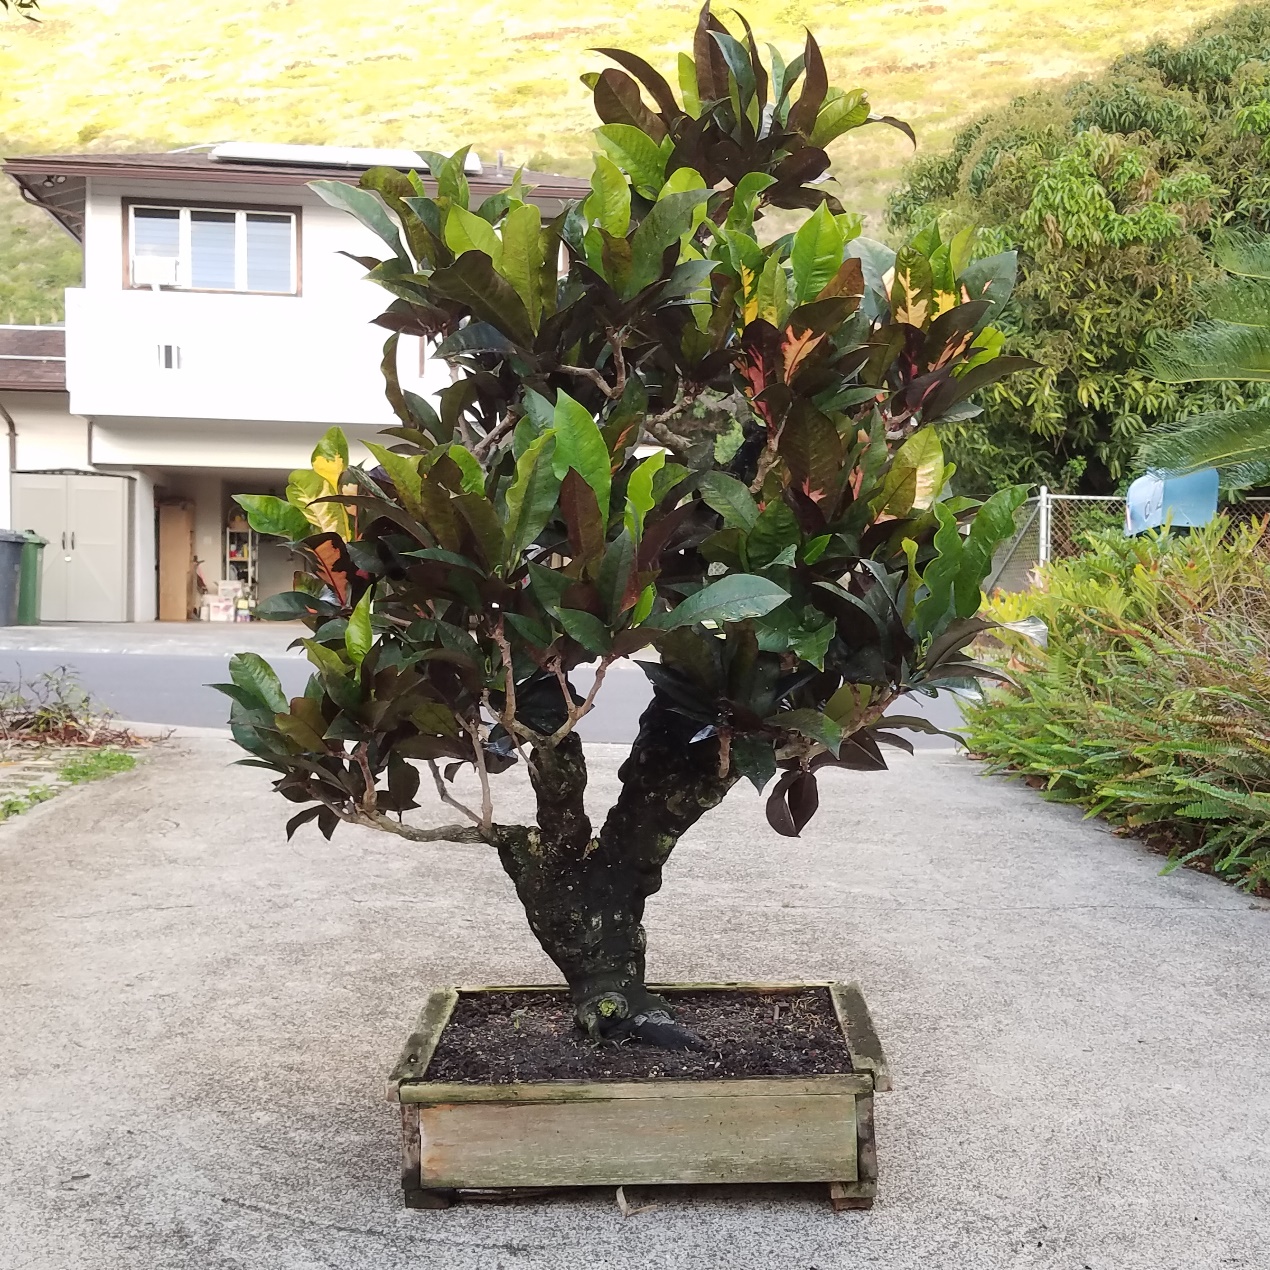
Into a Bonsai Pot
In March, 2020, I put the croton
into a bonsai pot.
 Email Richard dot J dot Wagner at gmail dot com
index.html, this hand crafted HTML file created May 22, 2013.
Last updated March 27, 2020, by
Dr. Rick Wagner. Copyright © 2013-2020, all rights reserved.