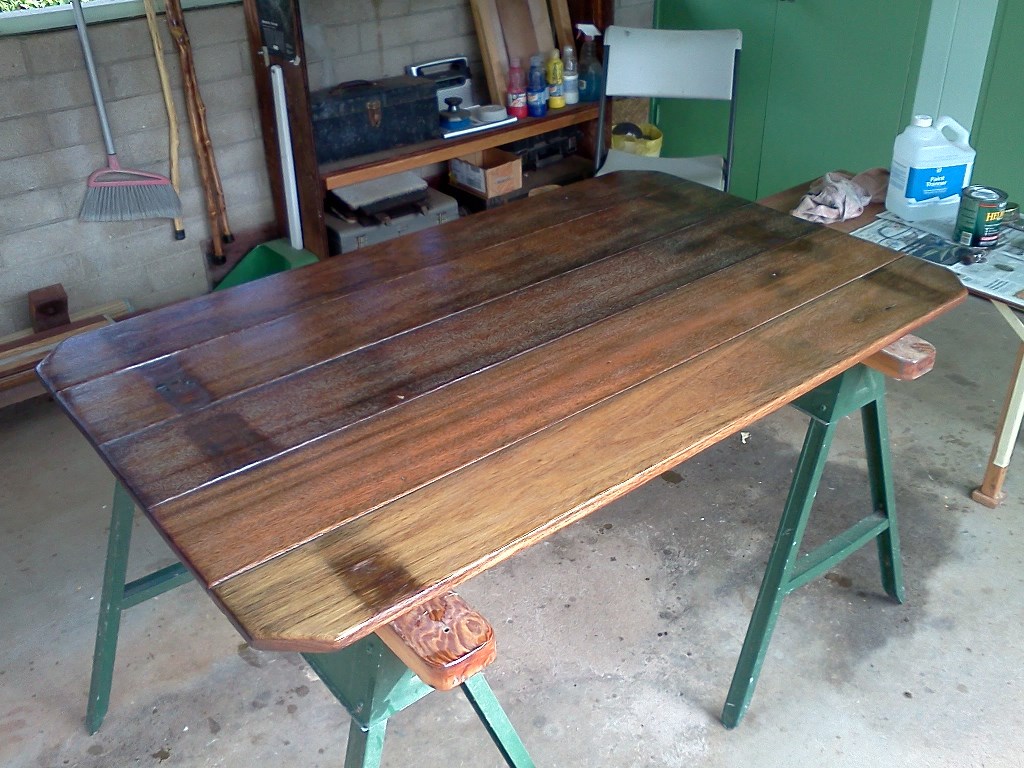
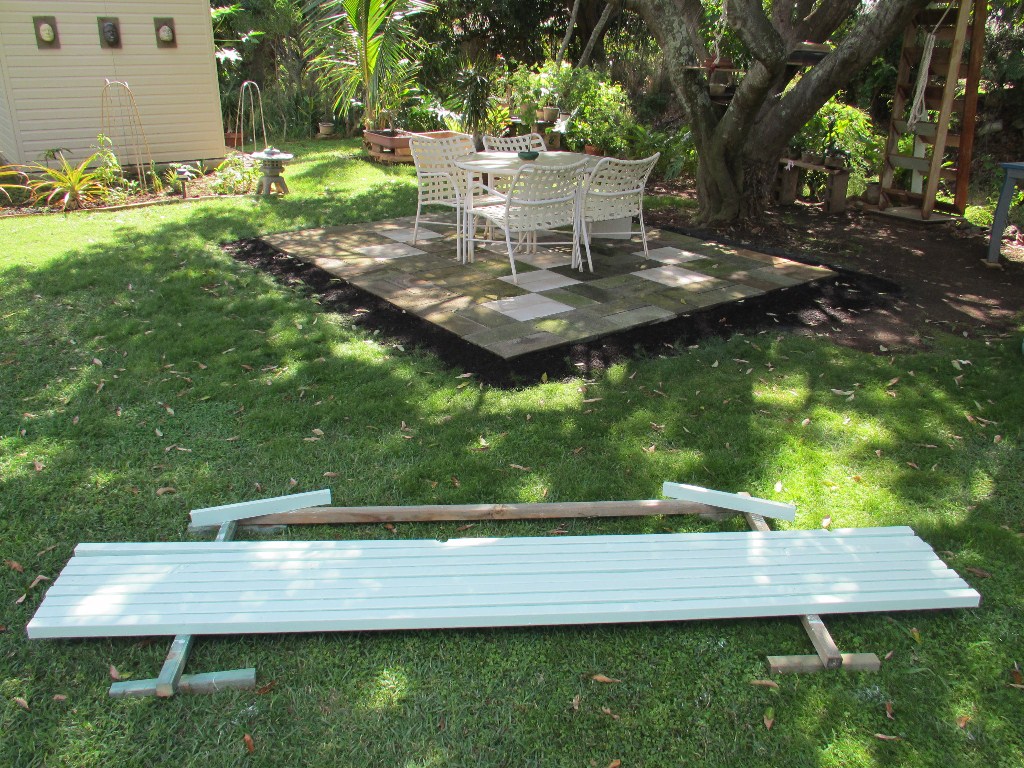
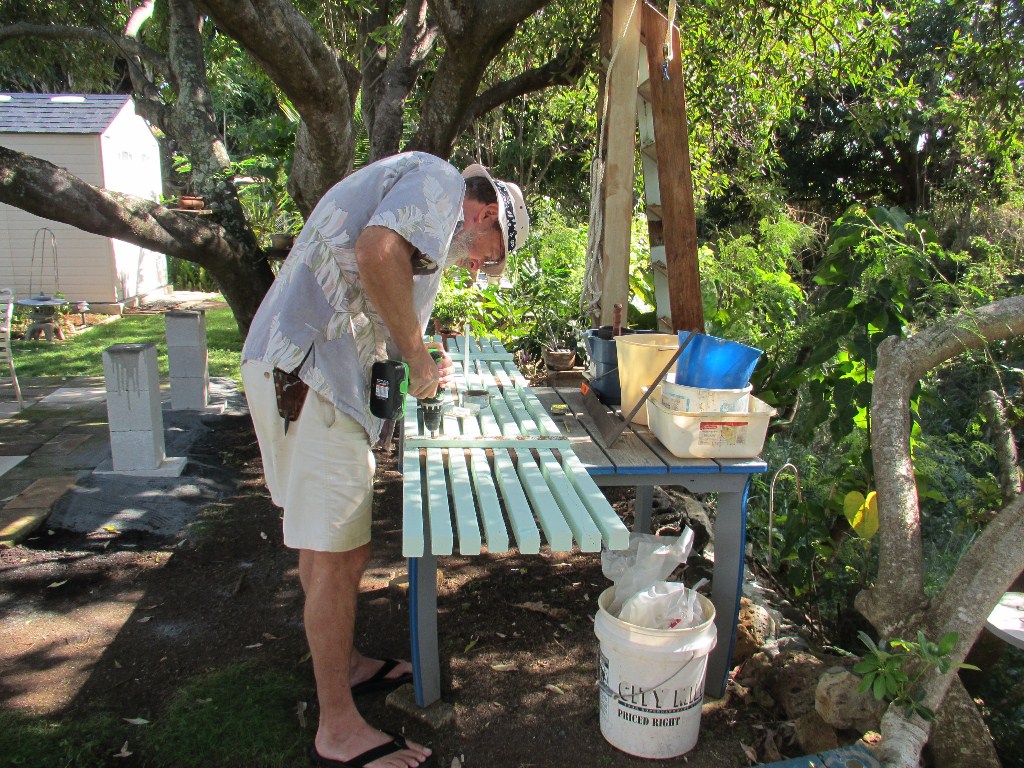
The tabletop was assembled from salvaged mahogany and cut on Saturday and sanded on Sunday. Two coats of spar varnish
on Monday, May 20th. On Tuesday we went to Home Depot to buy pavers and hollow tiles for the table base. A
third coat of varnish was applied to the top only.

Back at home I constructed a 2 x 2 frame for a sand base for the 12 inch cement pavers. The frame was shimmed level and
clamped to stakes. Sand allows room for tree roots in the yard to grow without disturbing the pavers above for several years.
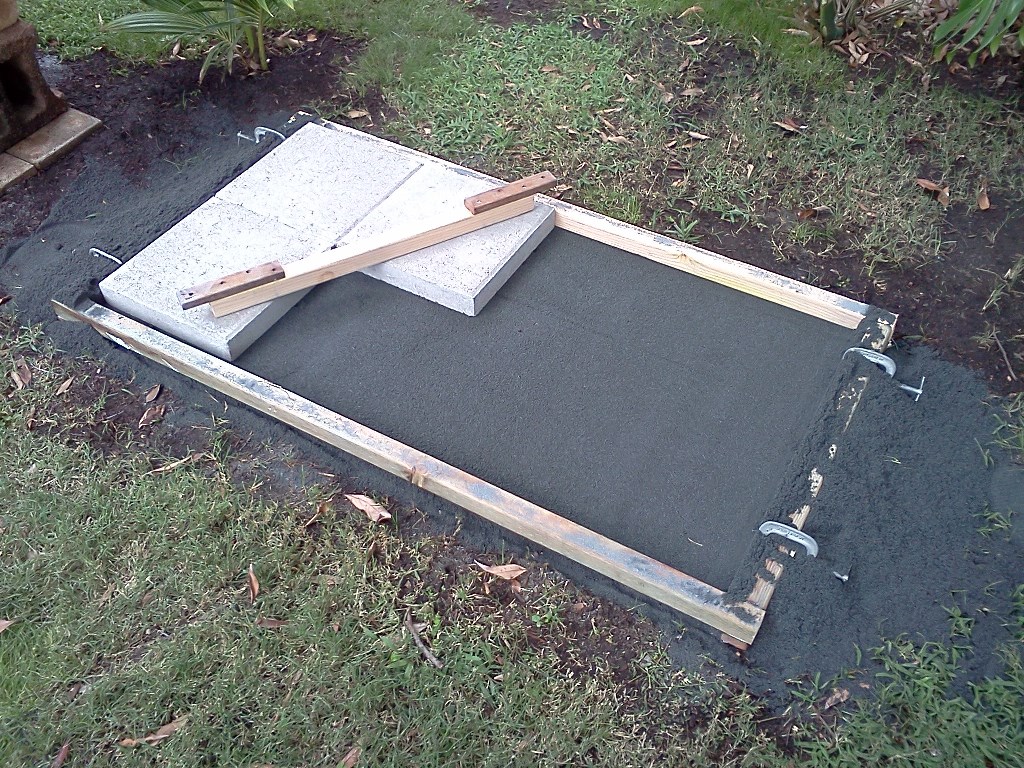
Sand was added and screeded level, packed, and leveled again. Then the pavers were put on top of the sand. I'm using black
basalt sand, but coral or granite sand will work as well.
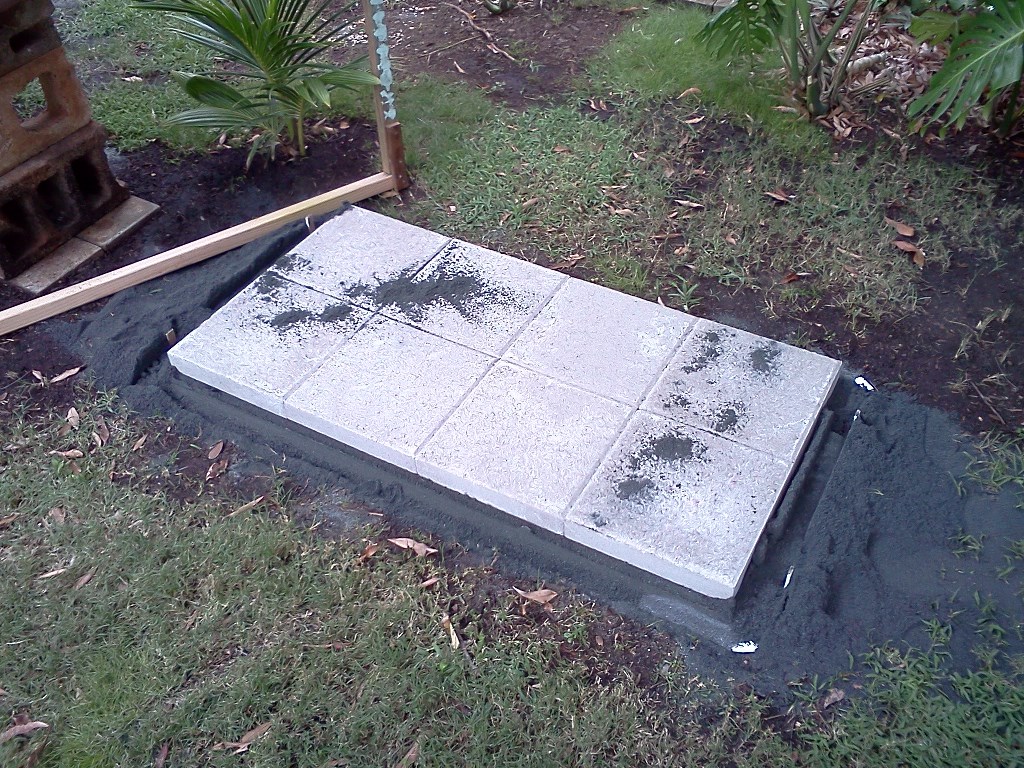
When all eight pavers were in place, the form was removed.
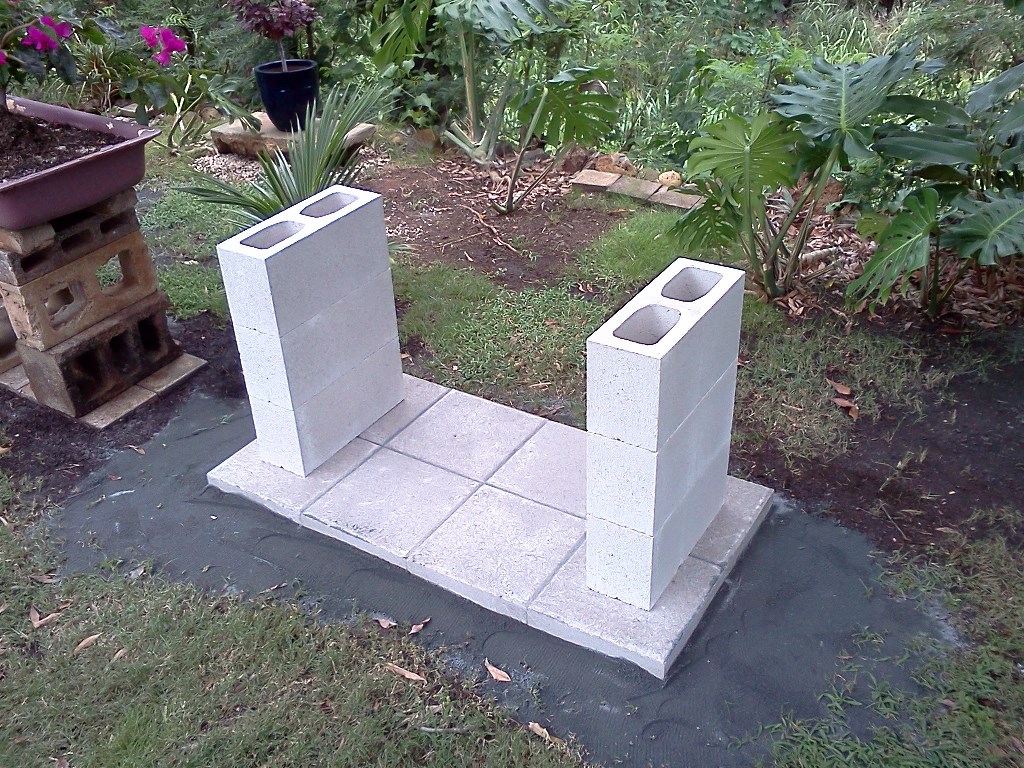
Six six inch double hollow tiles were stacked three high for the two table support columns. Sand was added around the perimeter
of the pavers to bring up the ground level to reduce the step transition.
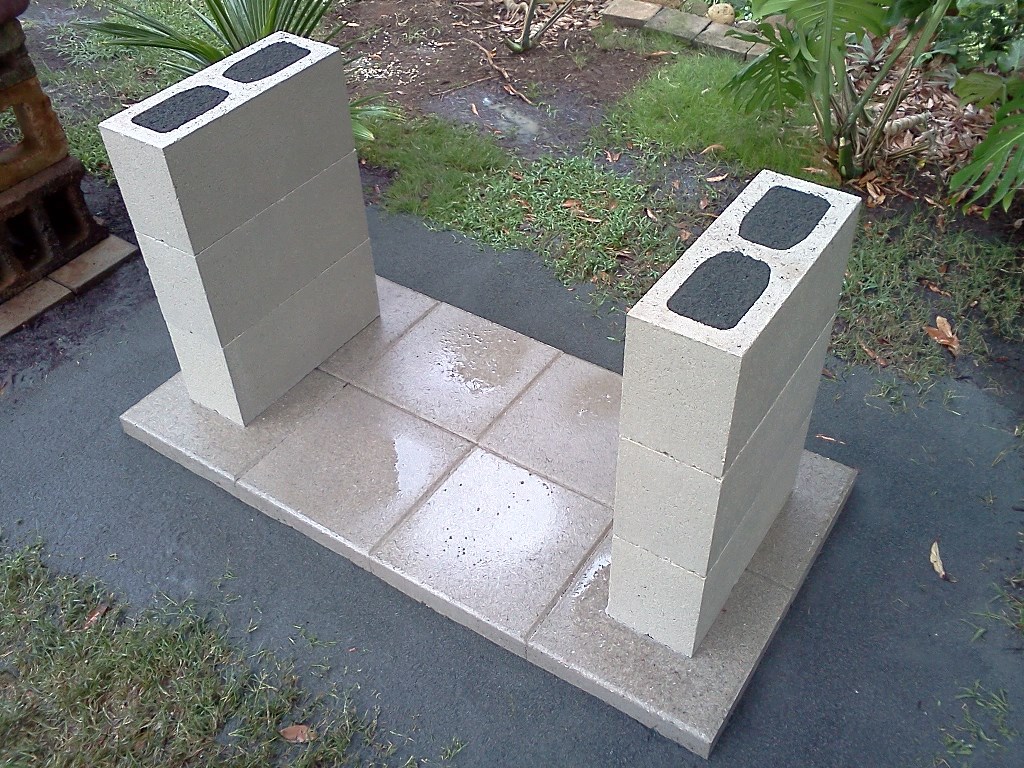
The hollow tiles were filled with wet sand. Filling the columns is not strictly necessary, but it denies living space to various
undesirables such as spiders and slugs.
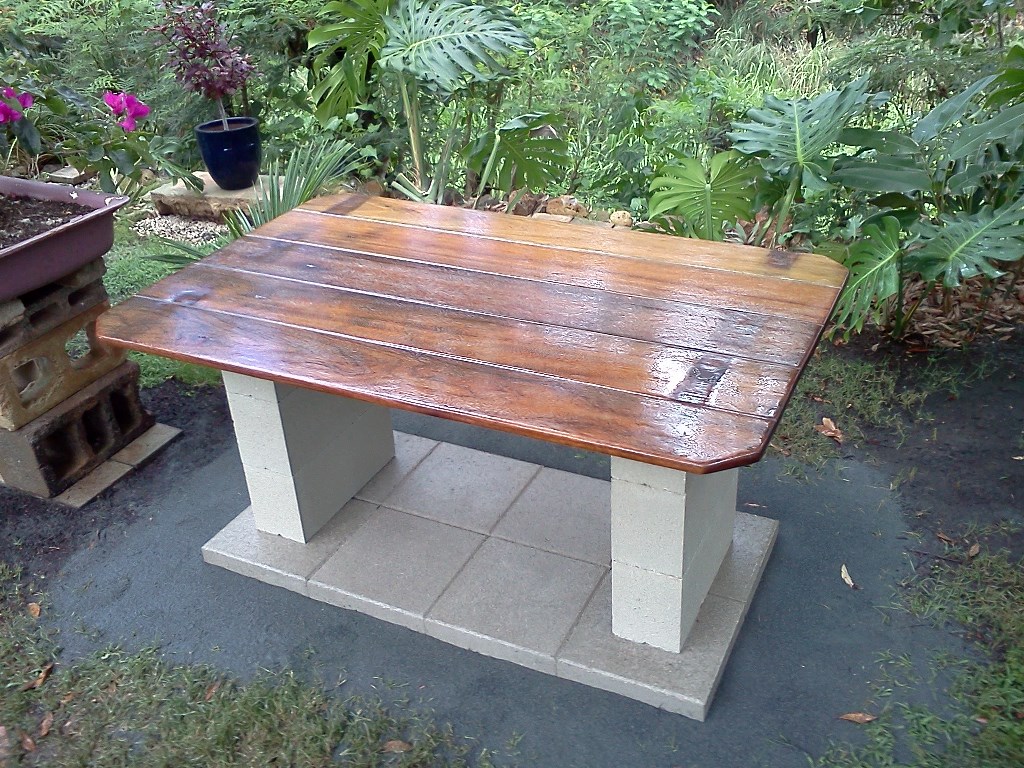
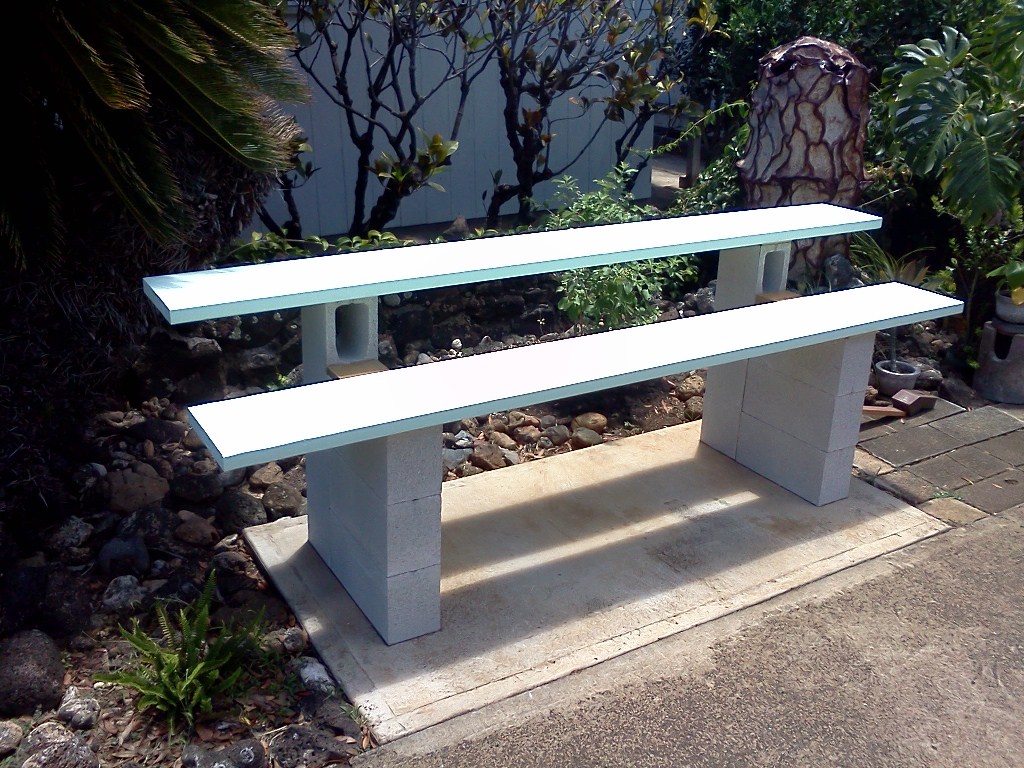
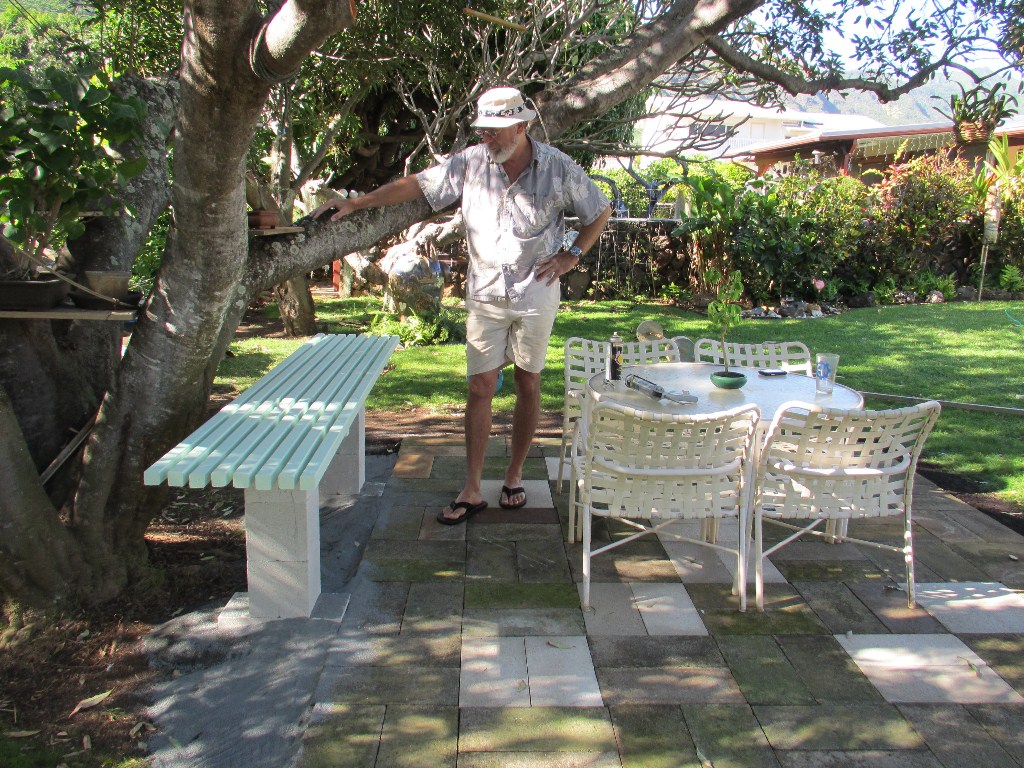
The table top was placed on the support columns.
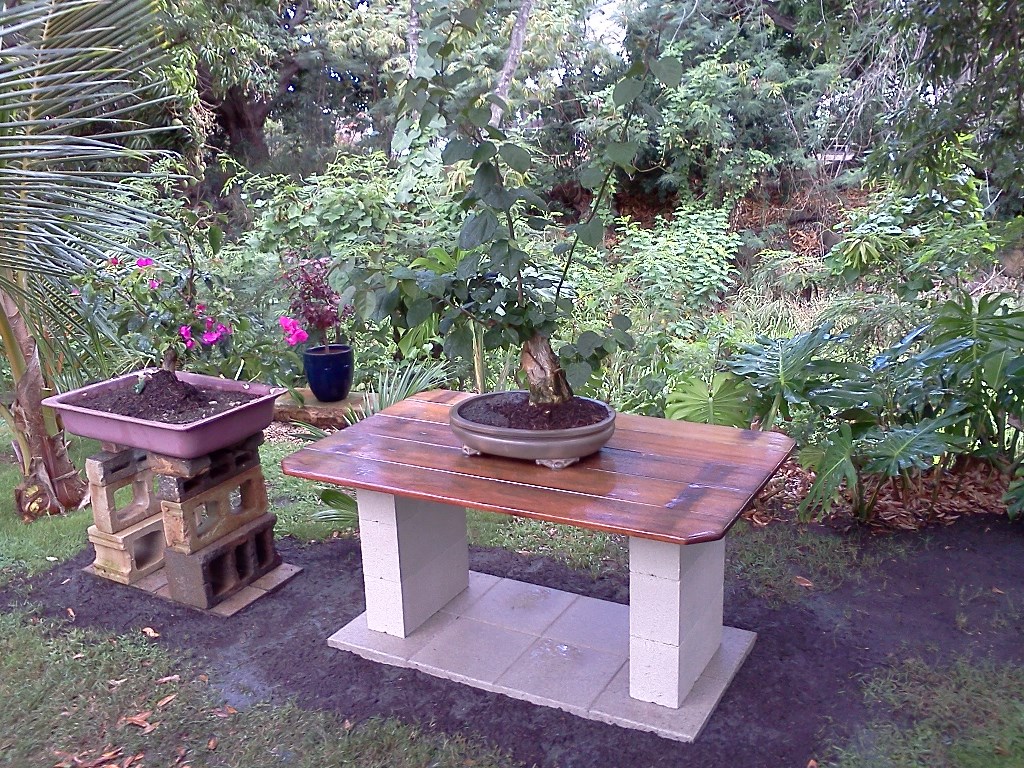
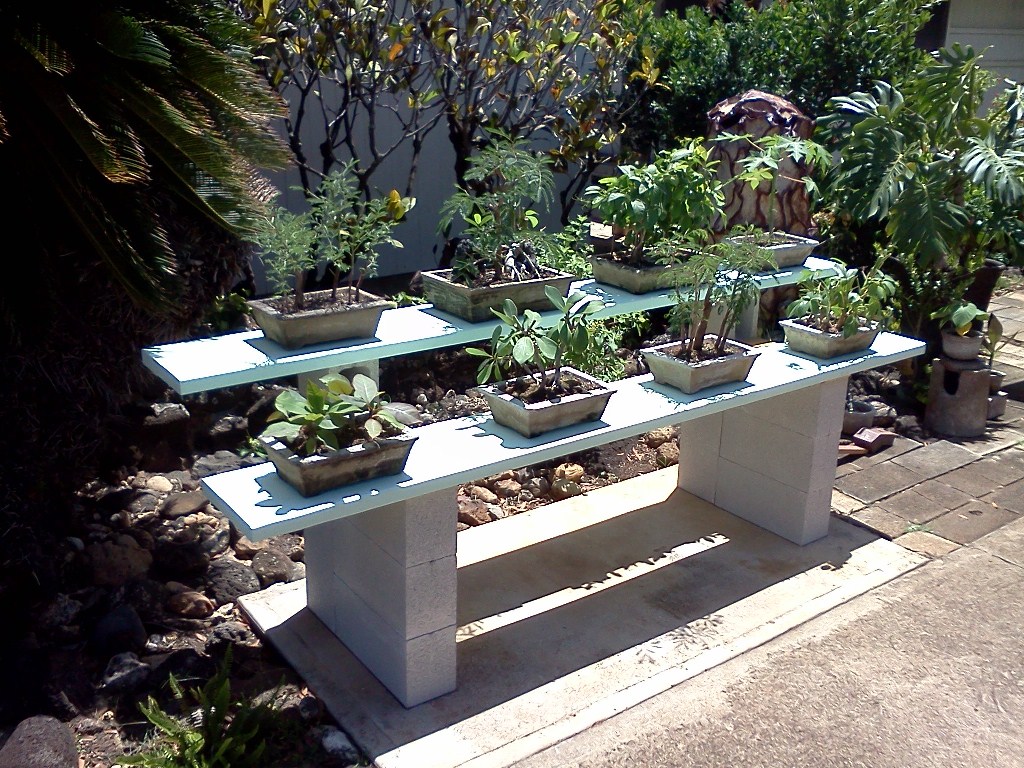
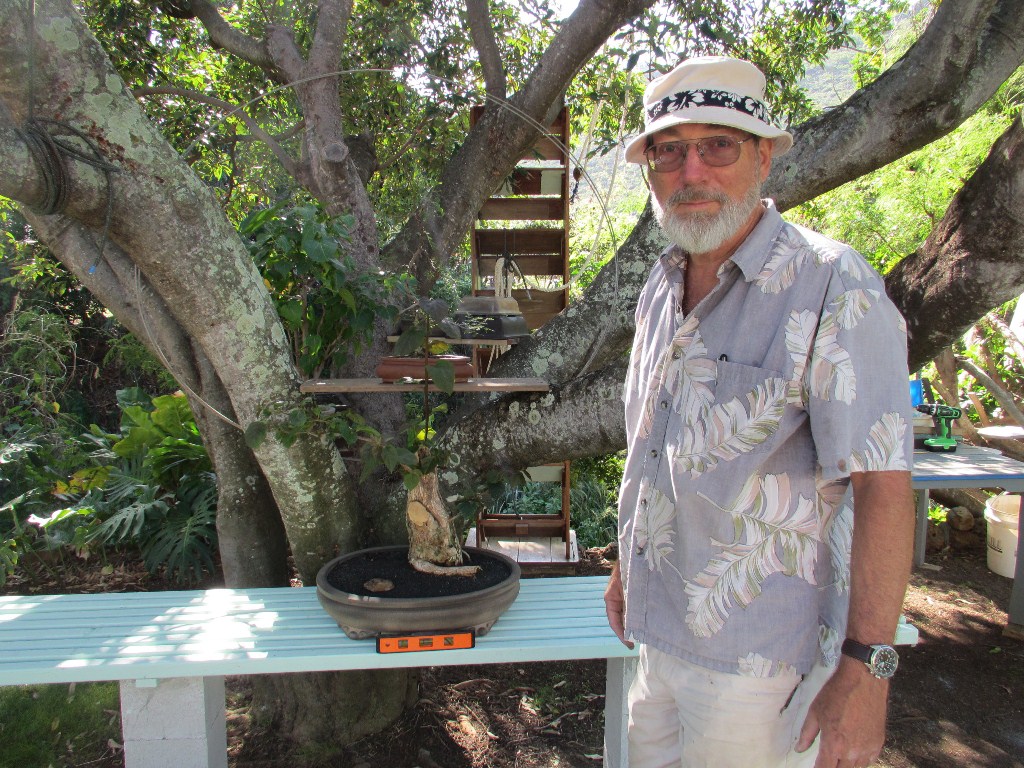
A bougainvillia bonsai completes the setup.
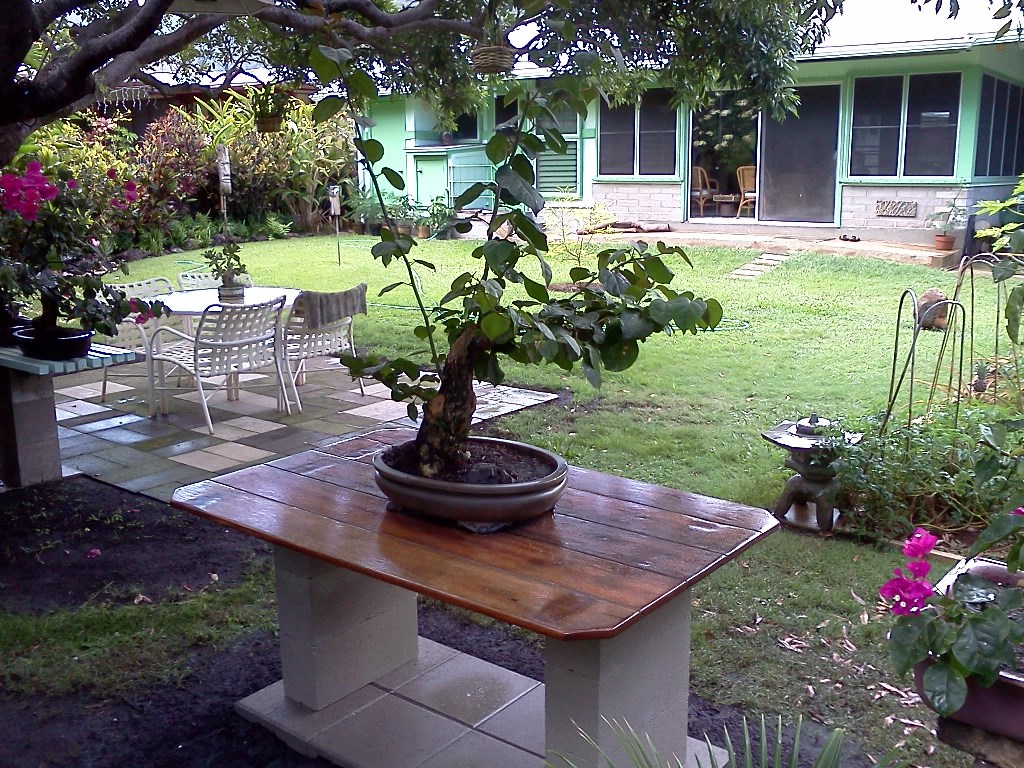
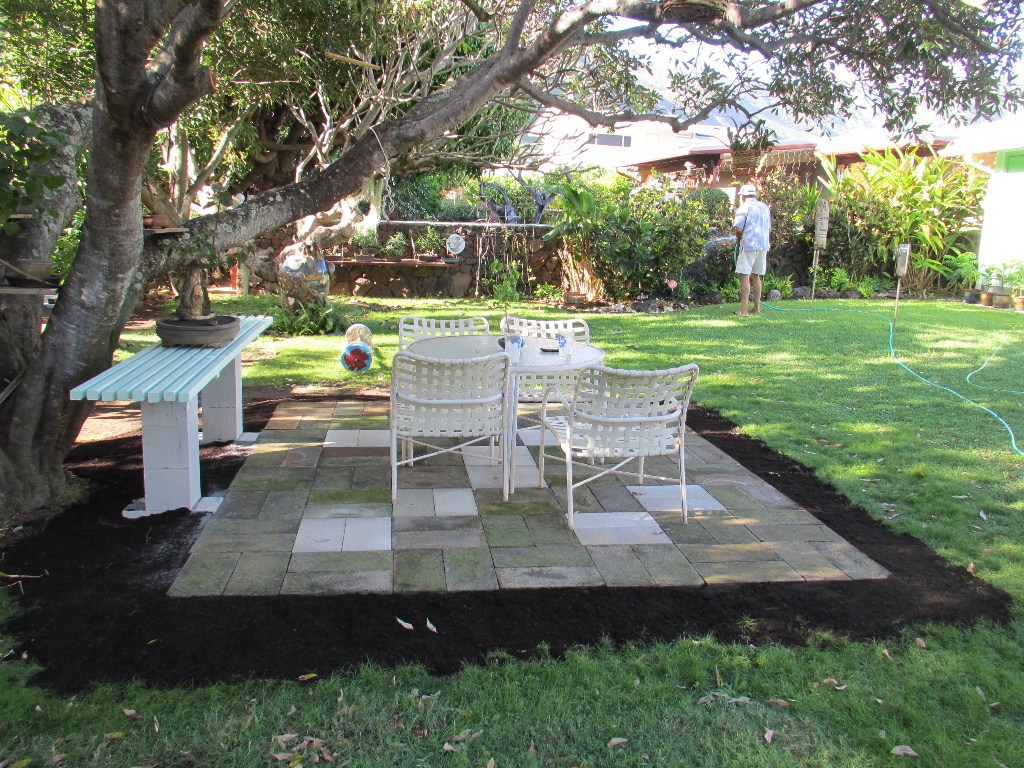
View toward the house.

 Email Richard dot J dot Wagner at gmail dot com